General Information & Getting Started
Shin Onigashima has never been released outside of Japan and, to date, has never been translated into English. This walkthrough has been written for those English-speaking players who are curious about this game, and would like to know a little more about it.
Whether you want to play through the game yourself or simply want to know what happens, this guide has been written for you. All key events and plot points are provided, while the basic instructions for clearing the game are provided in both on-screen hiragana for players, and English to help understand your actions.
Emulation problems
If you are using this guide to play the original version of Shin Onigashima on an emulator, be warned that the most common ROM out there of the game is corrupted at the very start. There is a patch available to fix this problem that makes the game playable, although even after patching, the graphics in Chapter 9 (the very final chapter) are corrupt. While it is still possible to play through this chapter with corrupt graphics, it does damage the experience.
However, this corruption does not occur when playing on the NNNesterJ emulator, so this is recommended.
Saving the game
At the end of every chapter you will be prompted to insert Disk 1 Side A. This will save the game for you and return you to the title screen. You then have to select the second option from the menu and insert the next disk side you need to play.
Chapters 1-3 are on Disk 1 Side B, Chapter 4 is on Disk 1 Side A, Chapters 5-6 are on Disk 2 Side B, Chapters 7-9 are on Disk 2 Side A.
Getting Started
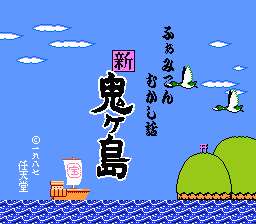
After the game has loaded and the standard Famicom Disk System disclaimer has displayed, the title screen will appear. Press START to open the file menu. Only one option is available at first:
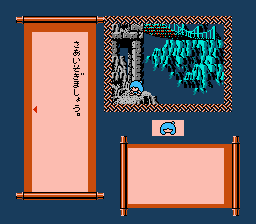
- Select さいしょから (New Game)
You will be prompted to switch the Disk side, so eject Disk 1, turn it over and put it back in. The game will load after a few seconds.