Fighting Course
Objective
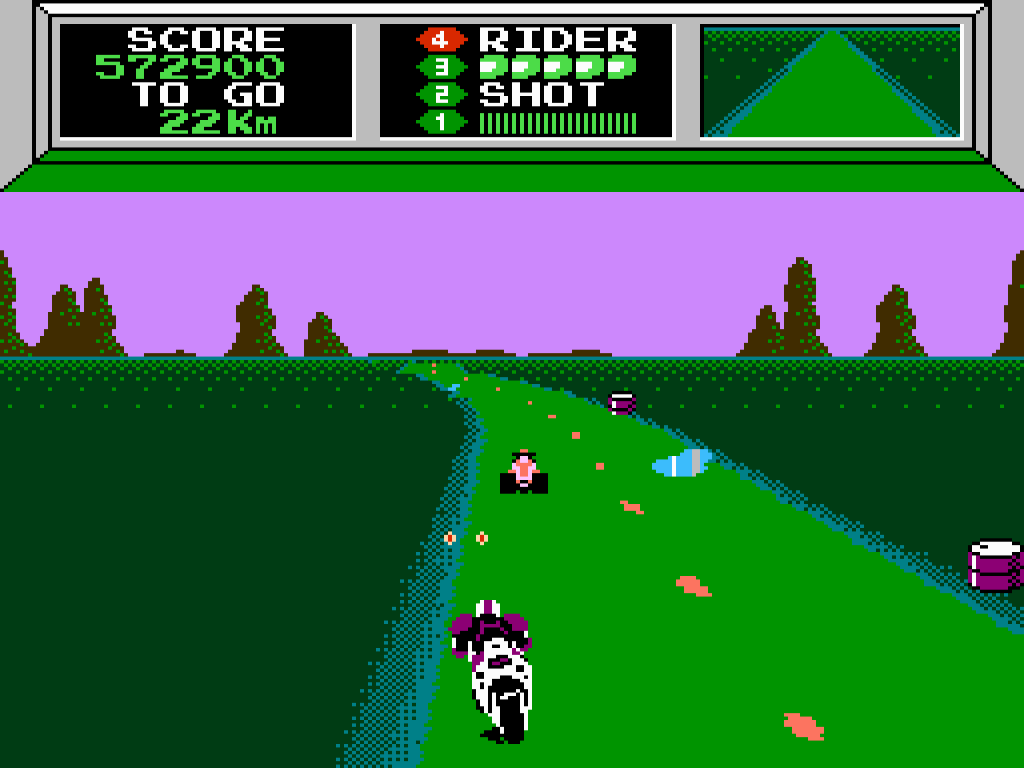
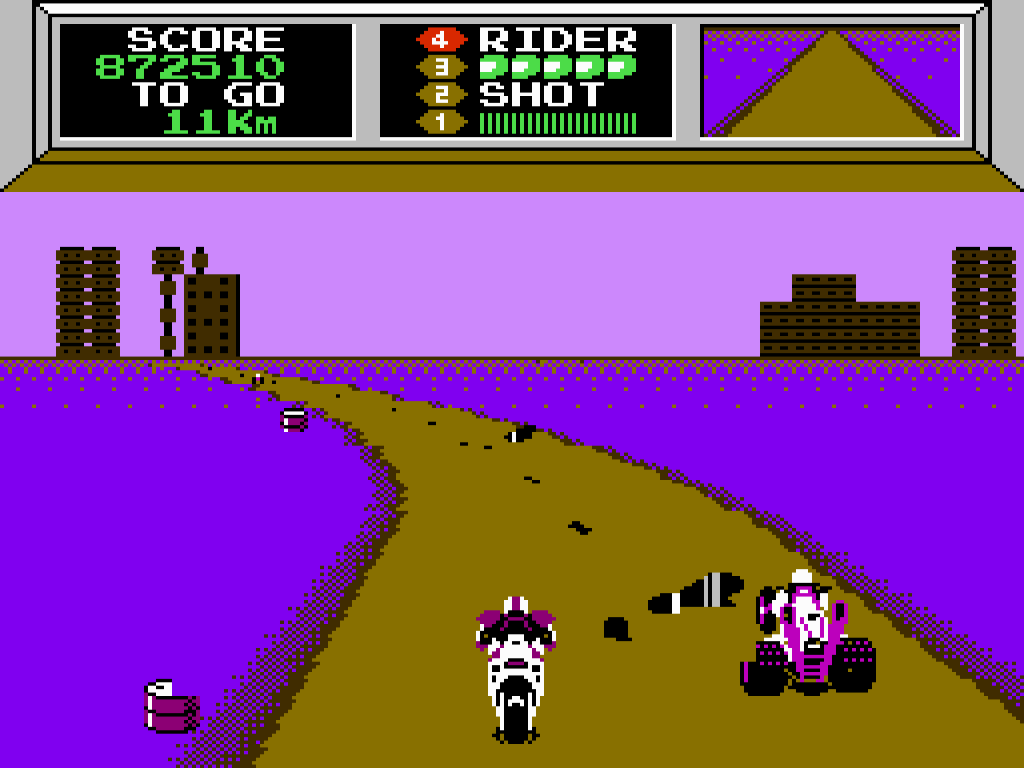
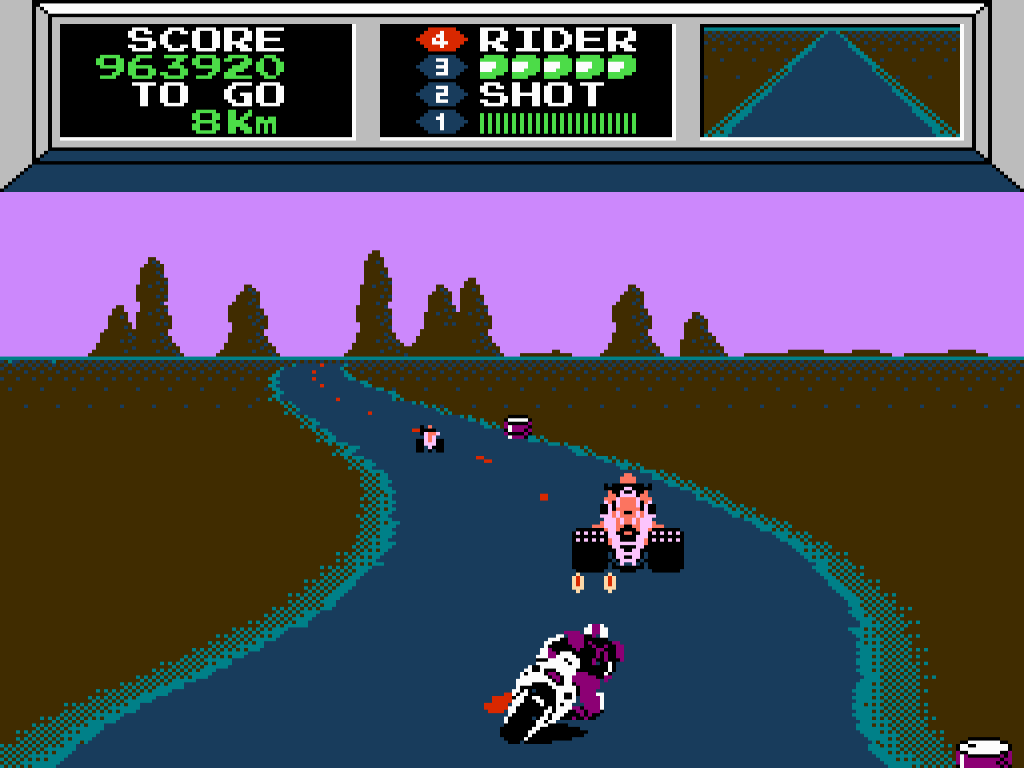
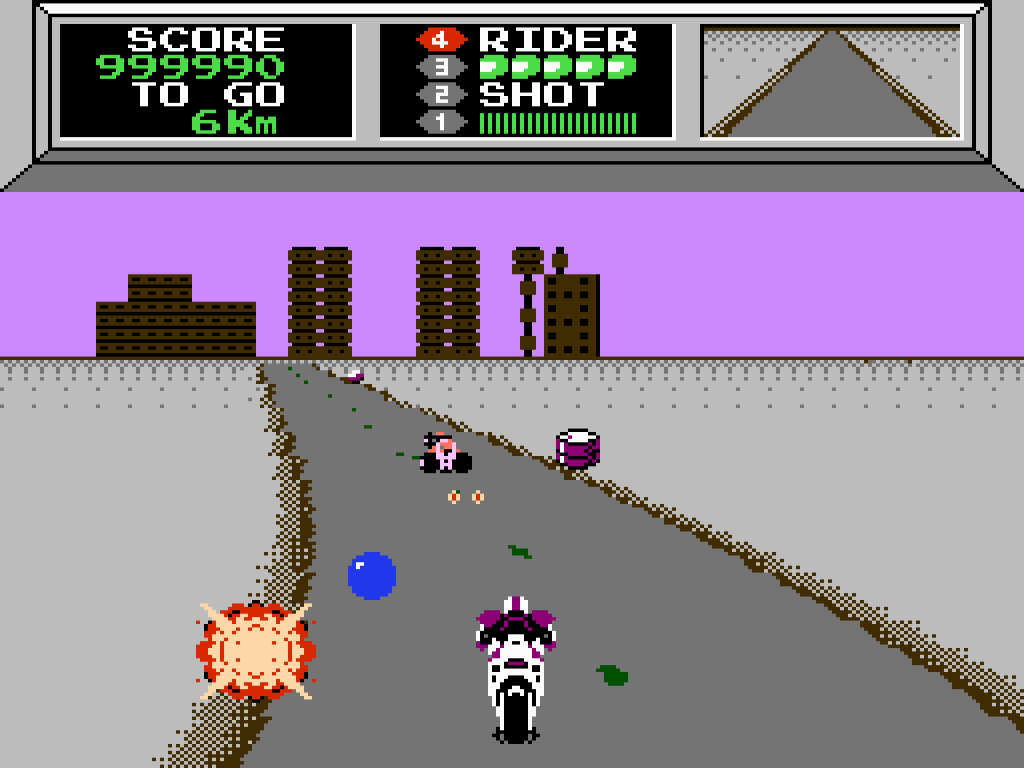
Fighting Course is the main story campaign of Mach Rider. Evil forces have invaded, and Mach Rider must travel from city to city in search of survivors.
- Each course has a choice of two routes.
- Shoot, block or evade the Invaders, and avoid crashing into road obstacles.
- Reach the goal line to clear the course.
- Clear 10 courses to see the ending to the story.
After clearing 10 courses, the story starts over with a new set of 10 courses. In this guide, these extra courses are referred to as Course 11 through 20. After clearing 20 courses, the game loops back to Course 1.
A Helping Hand
If you're finding Mach Rider's Fighting Course too difficult, then learn about the secret power-ups and continue code.
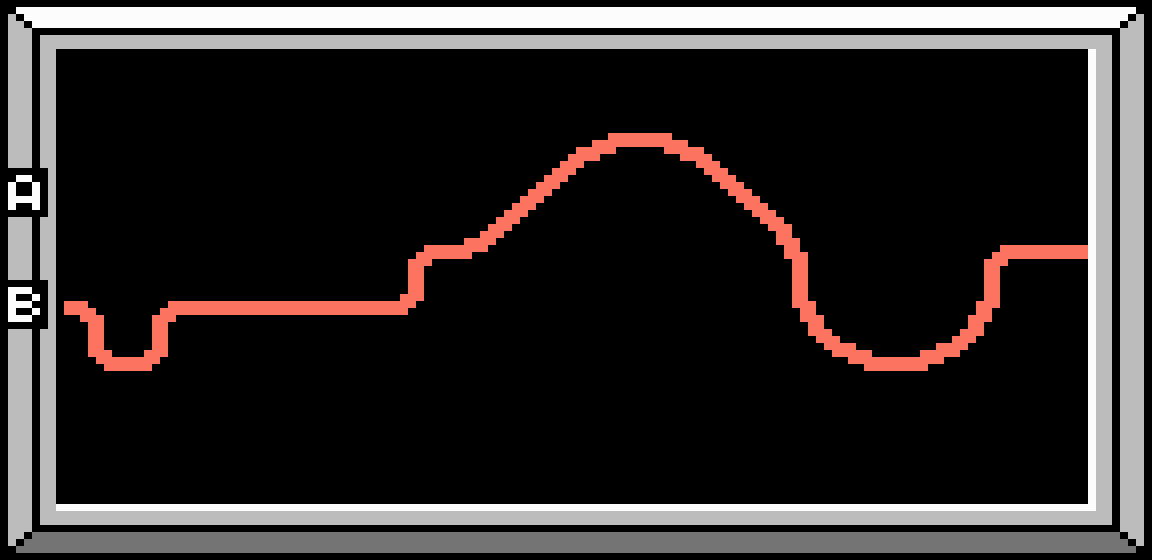
Select a Route
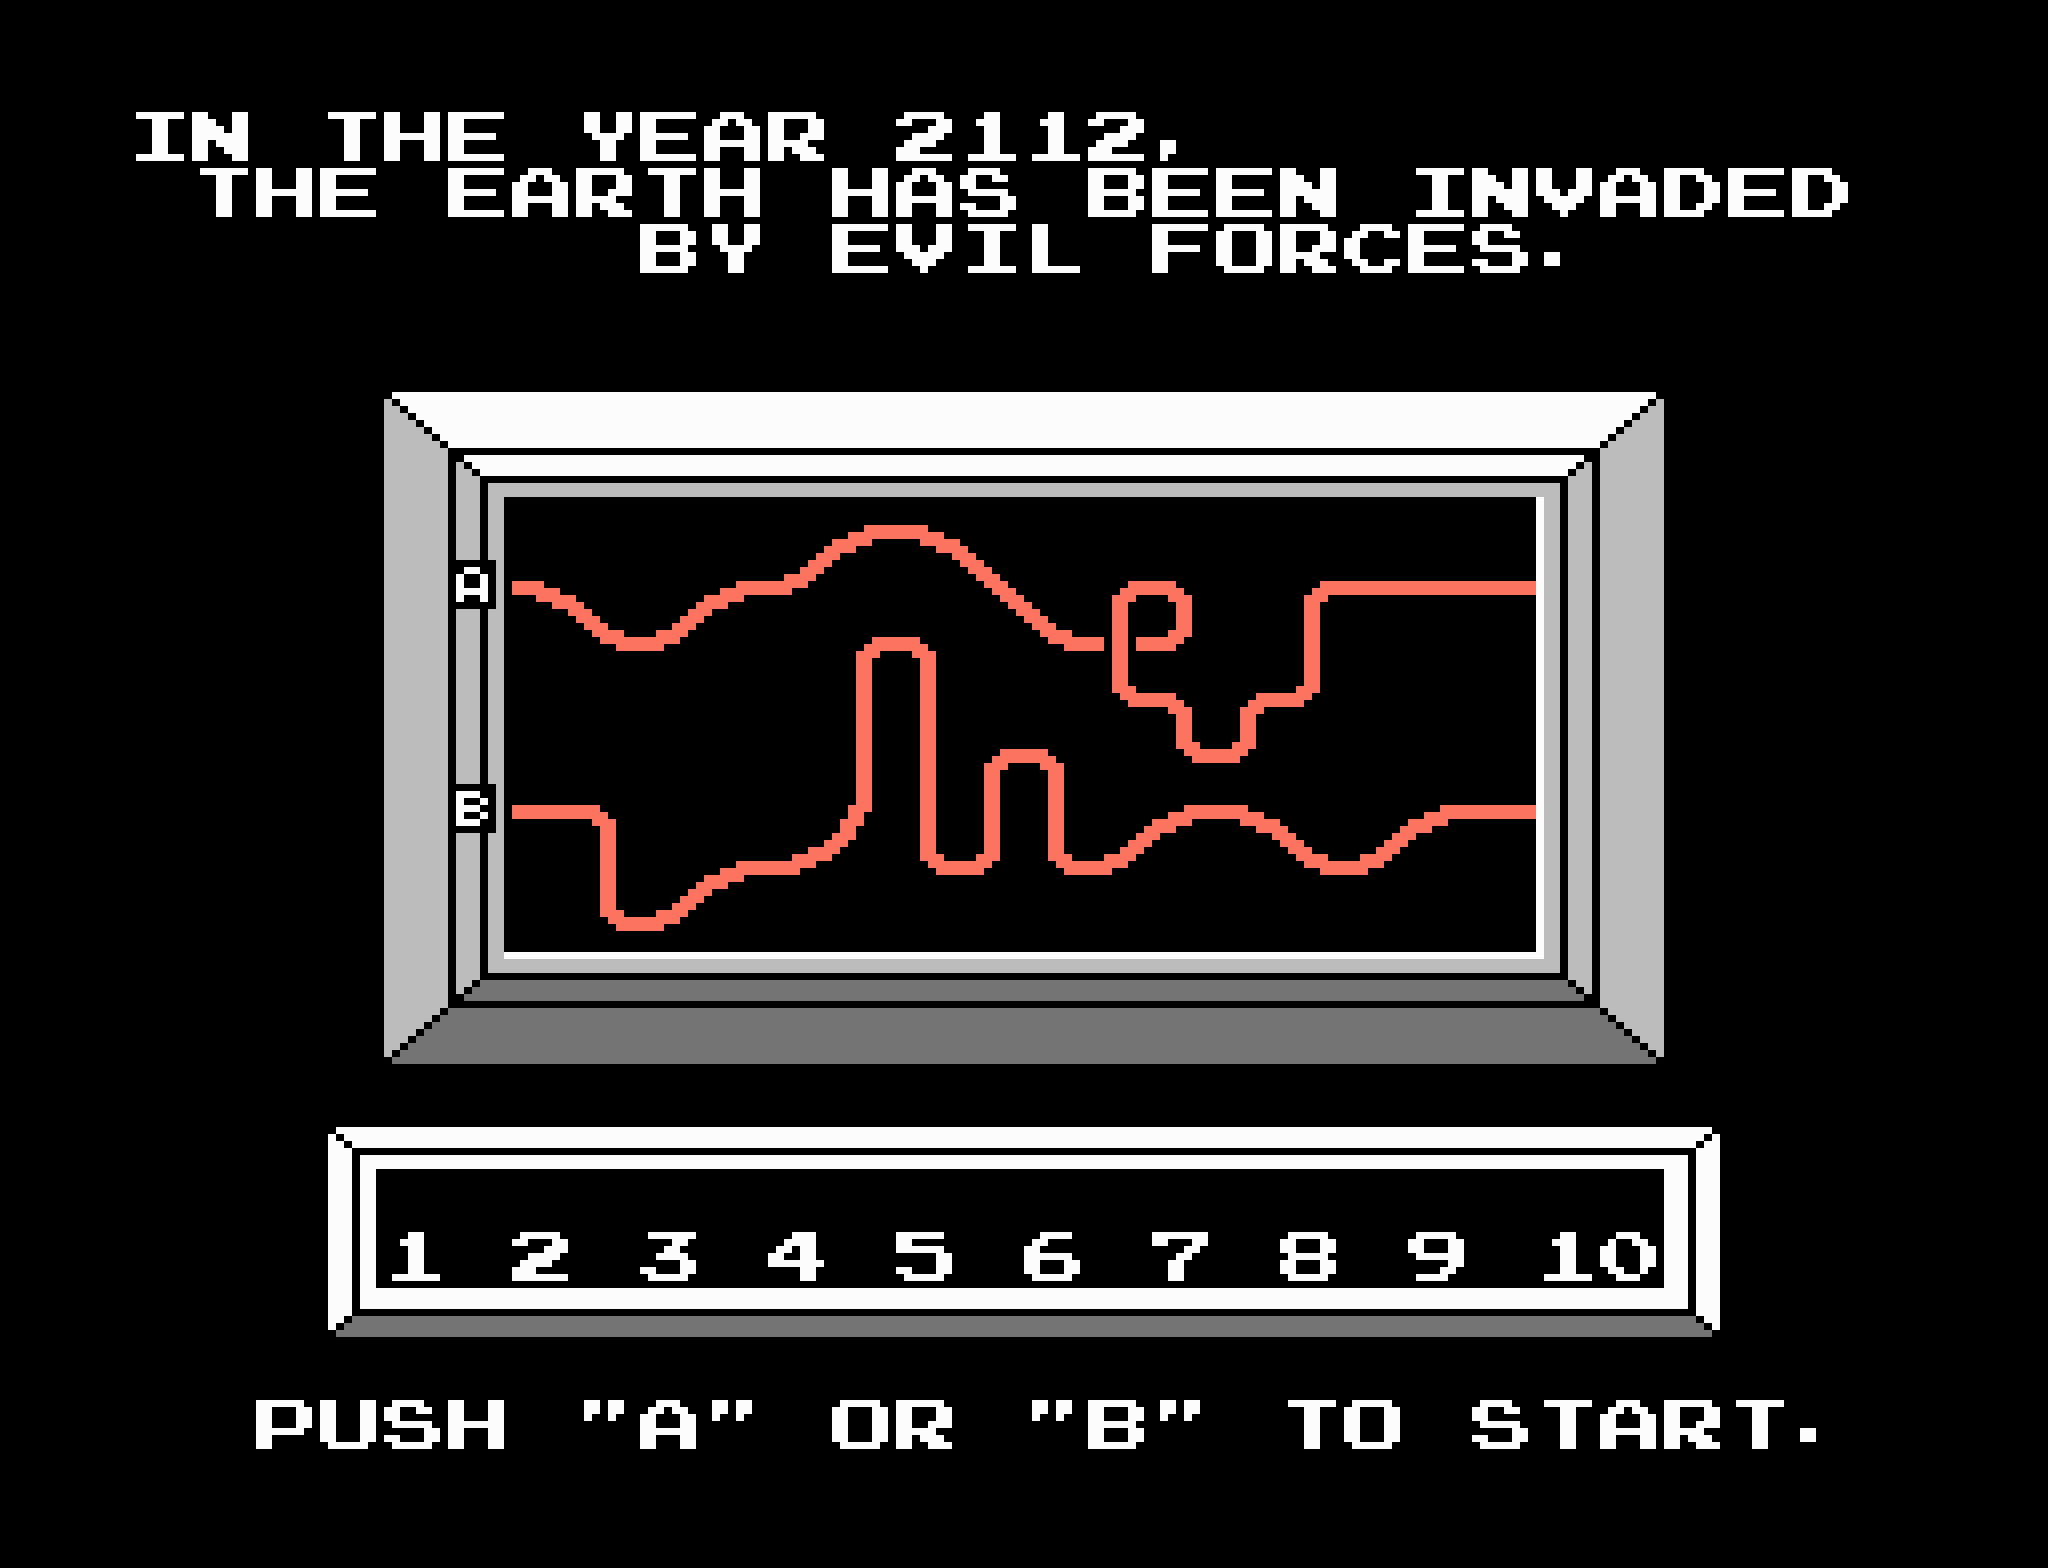
Each course has two routes for you to choose between (A or B). Choose a route using the A or B button.
If you take too long to choose, Route A will be selected for you automatically.
How Many Routes?
20 courses with 2 routes each means 40 routes to race on in total.
Energy Bar


On Course 1, you start with an Energy Bar that contains 20 Energy Units. These units deplete over time. If Mach Rider explodes then you lose three units.
The number of Energy Units you have remaining at the end of Course 1 decides how many extra lives you will have on the next course:
- 9 or more Energy: 3 extra lives
- 6 to 8 Energy: 2 extra lives
- 3 to 5 Energy: 1 extra life
- 1 to 2 Energy: 0 extra lives
If you run out of energy on Course 1, you get a Game Over.
After a Continue
If you use the continue code, the first course you race on (course 6, course 11, etc.) will also use the Energy Bar system.
Extra Lives
You earn an Extra Life after clearing three courses.
This does not include the course that uses the Energy Bar system. This means the first course you earn an Extra Life for clearing is Course 4.
It also means that if you use the Continue Code, the levels you earn an Extra Life on will change:
| Start/continue course (Energy Bar Course) |
Course 1 | Course 6 | Course 11 | Course 16 |
|---|---|---|---|---|
| Extra Life after |
|
|
|
|
Techniques
- Focus on getting the power-ups in the first few courses. If you can hold onto them, you will make good progress.
- Unless you have immunity to road obstacles, you will crash if you stay at top speed all the time. Skilfully downshift for sharp corners, ice (slip zones), and tricky clusters of road obstacles.
- Keep one eye on your rear view mirror, especially if you are driving at lower speeds. Invaders will sneak up from behind and crash into you. This is especially troublesome on slip zones when you have to downshift. Look where they're coming from on the road and move out of their way at the last moment.
- Only two Invaders can appear on screen at any time, and they will always be the same colour as each other. If you are having trouble with aggressive purple or black Invaders on a particular course, try matching the speed of a slower or weaker Invader and ride along with them at a safe distance. This prevents tougher Invaders from spawning.
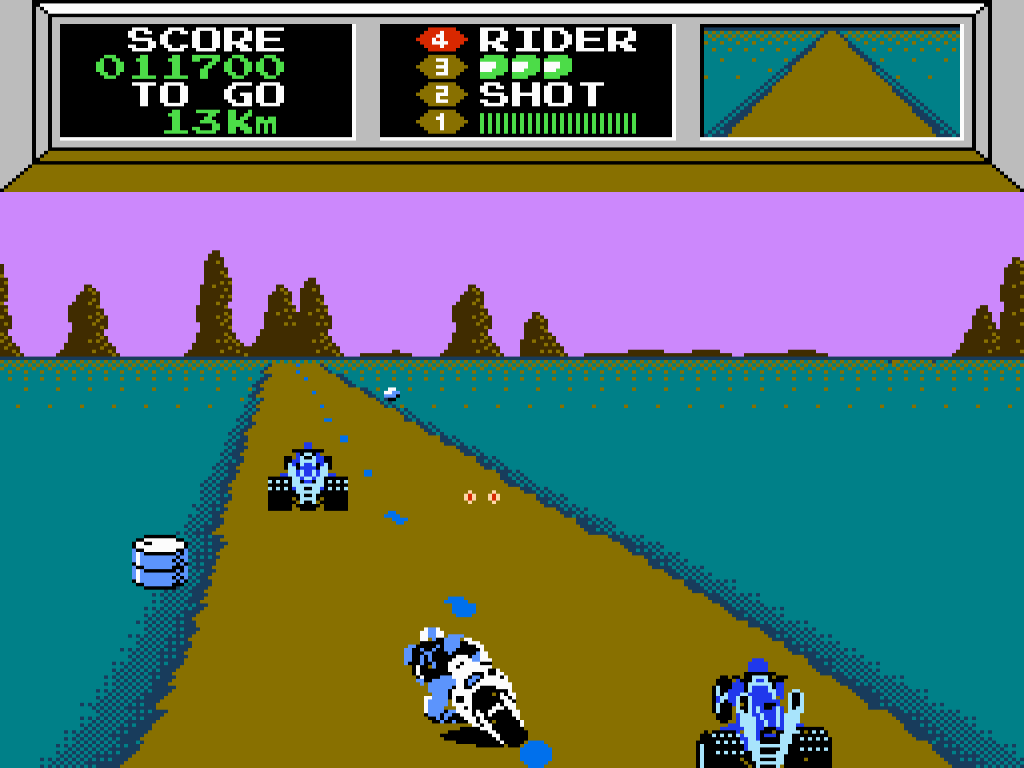
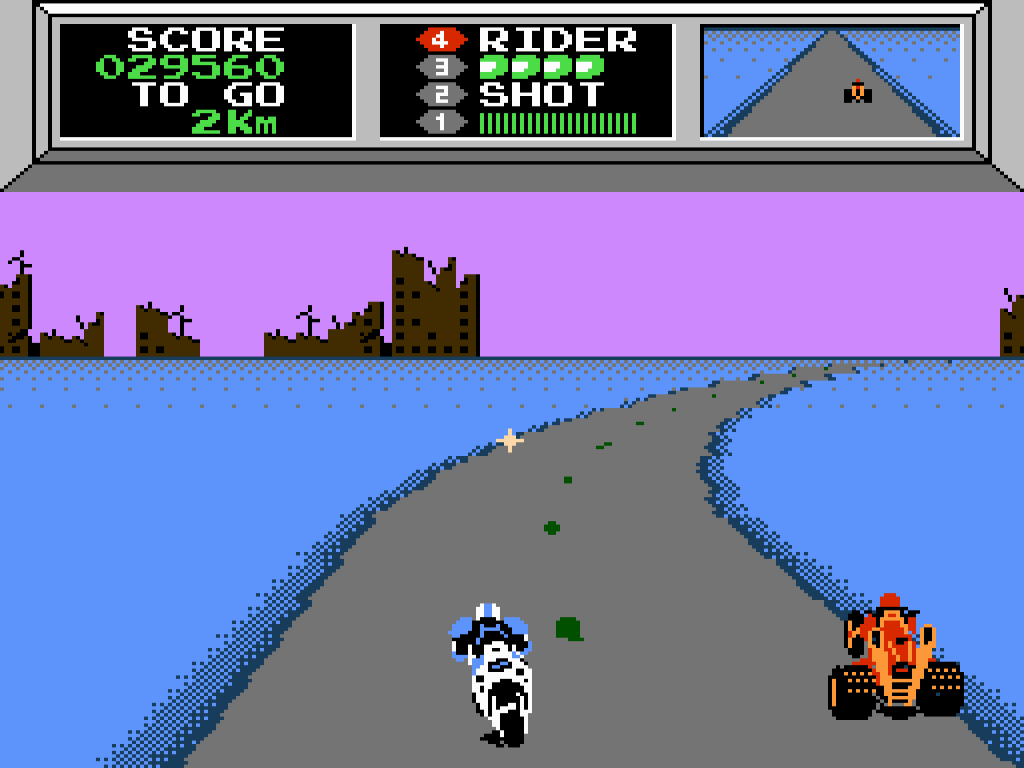
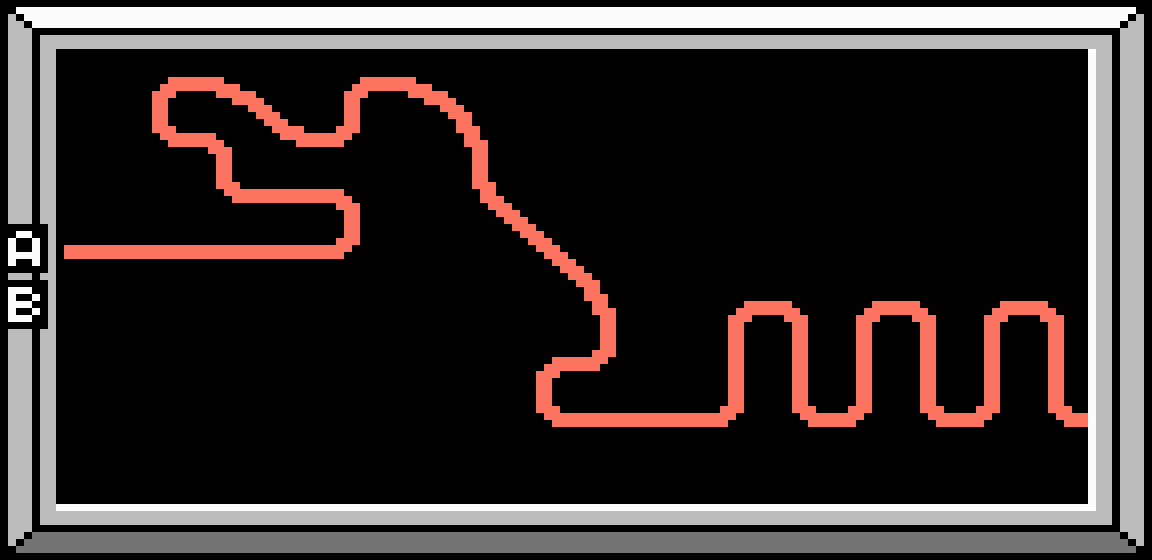
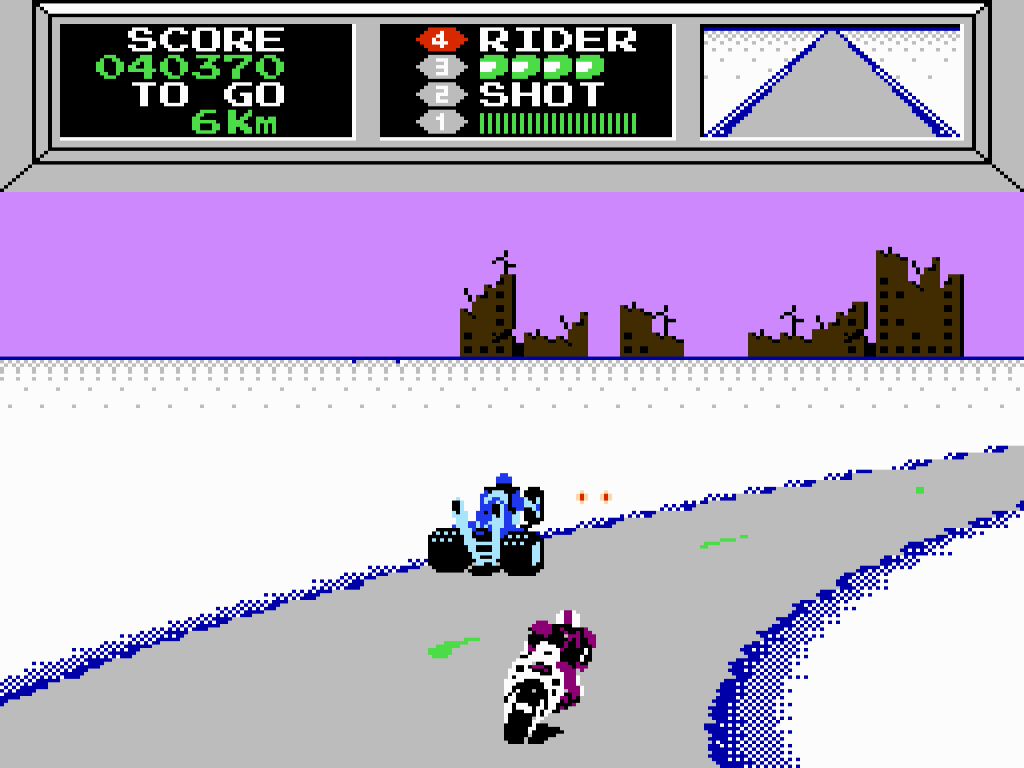
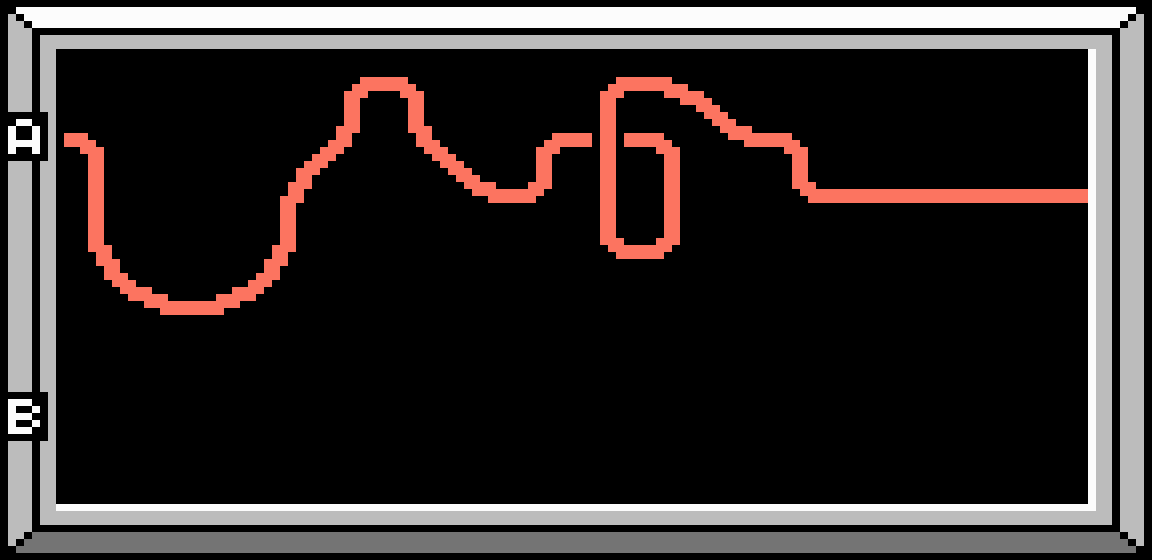
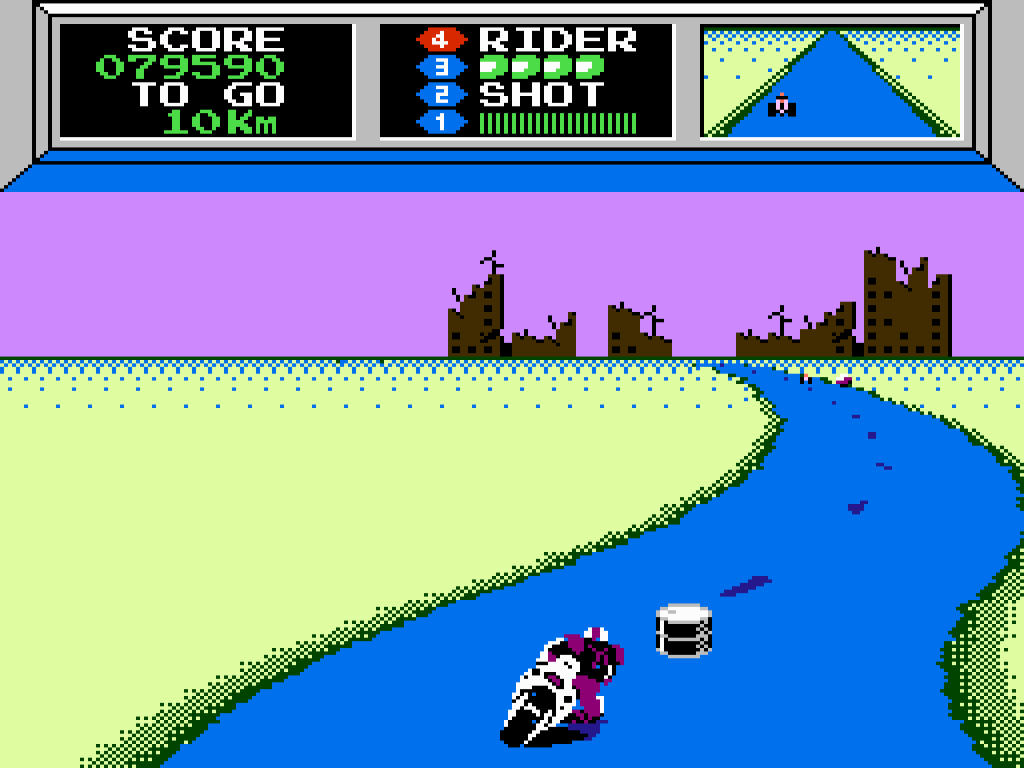
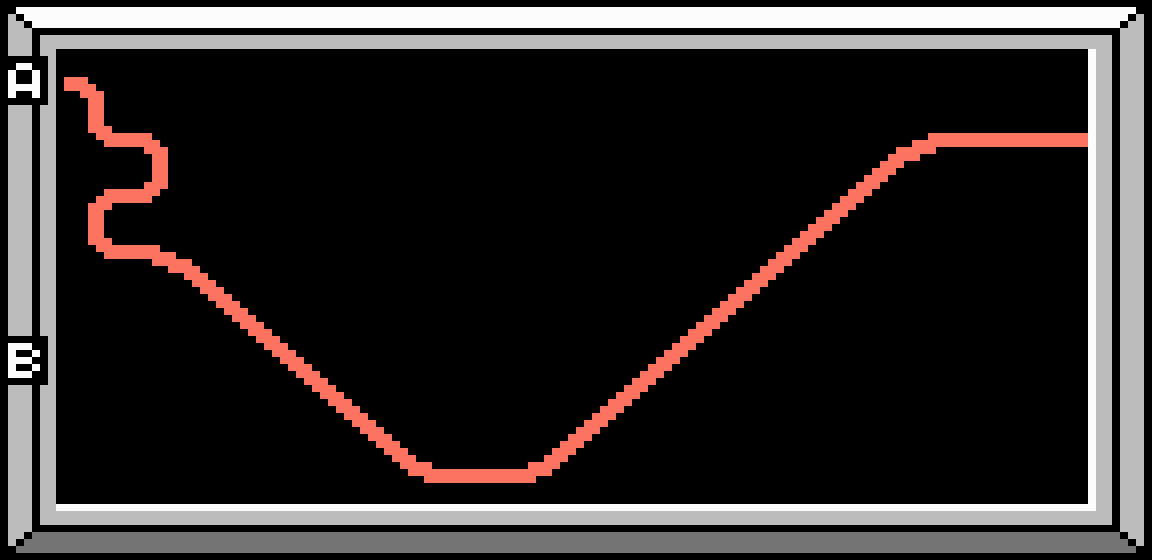
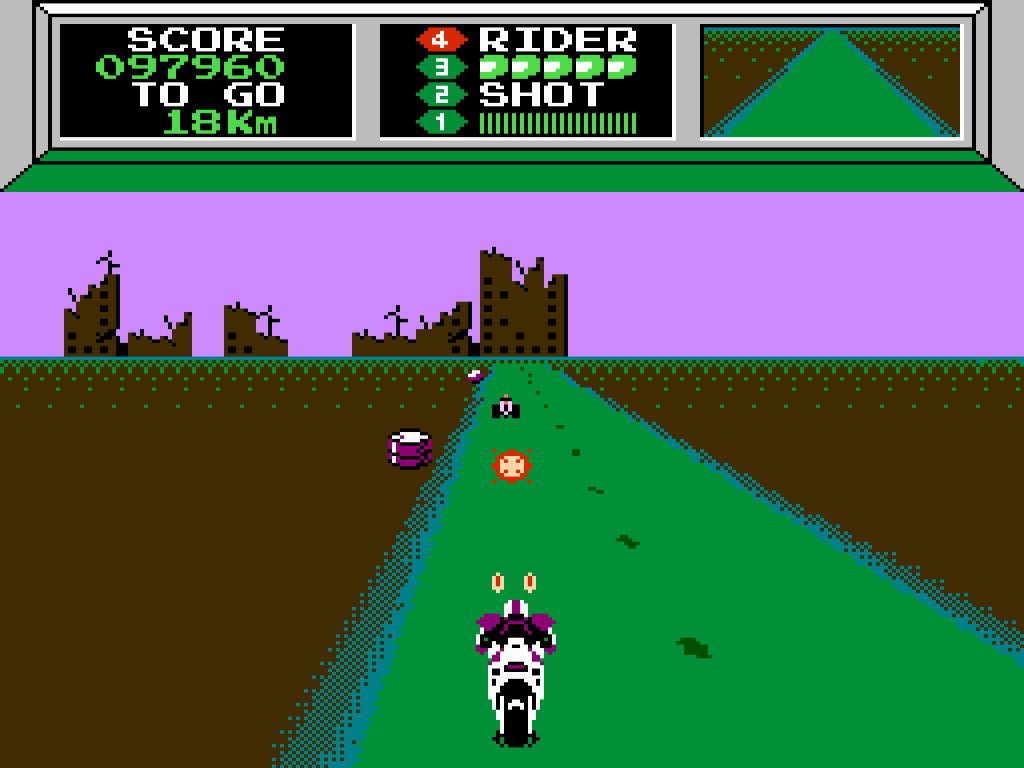
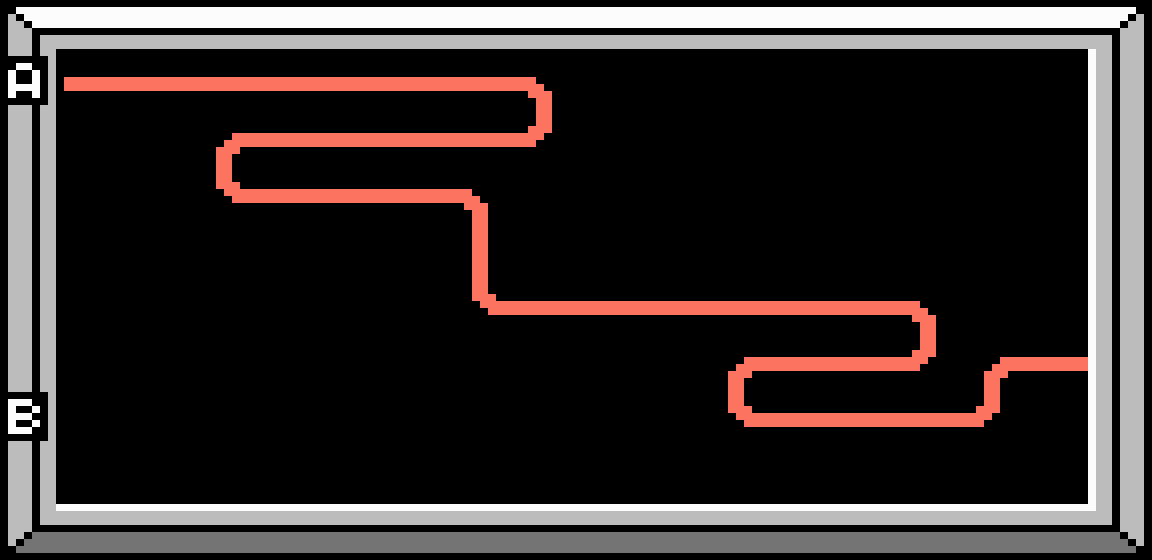
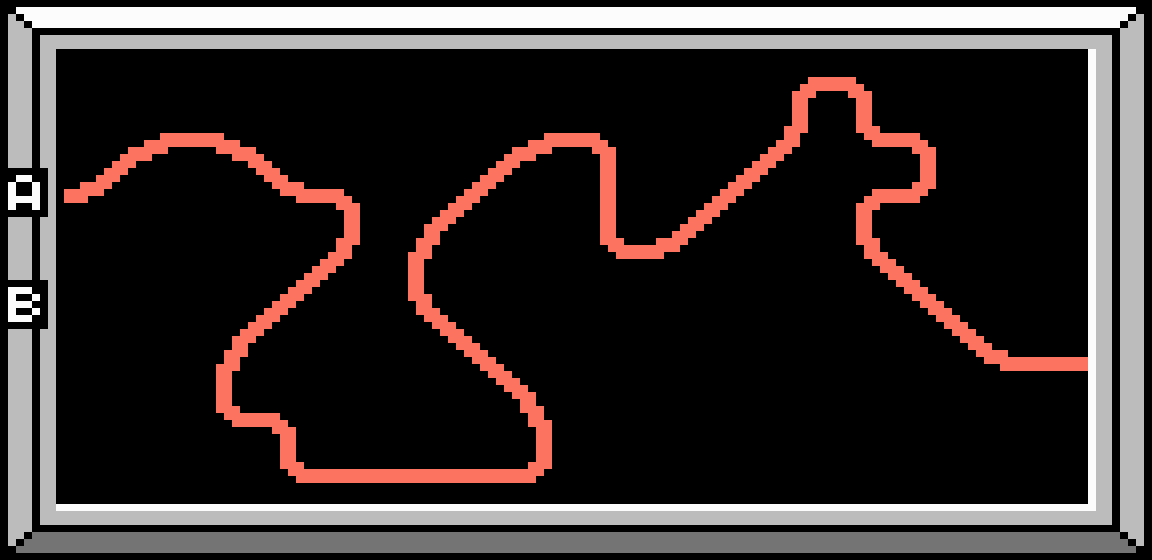
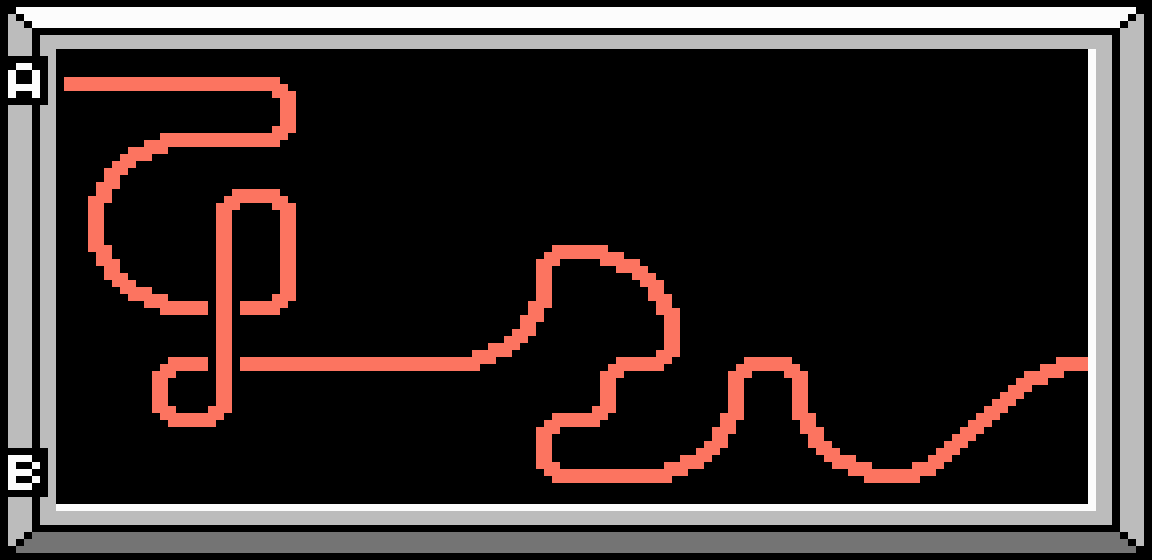
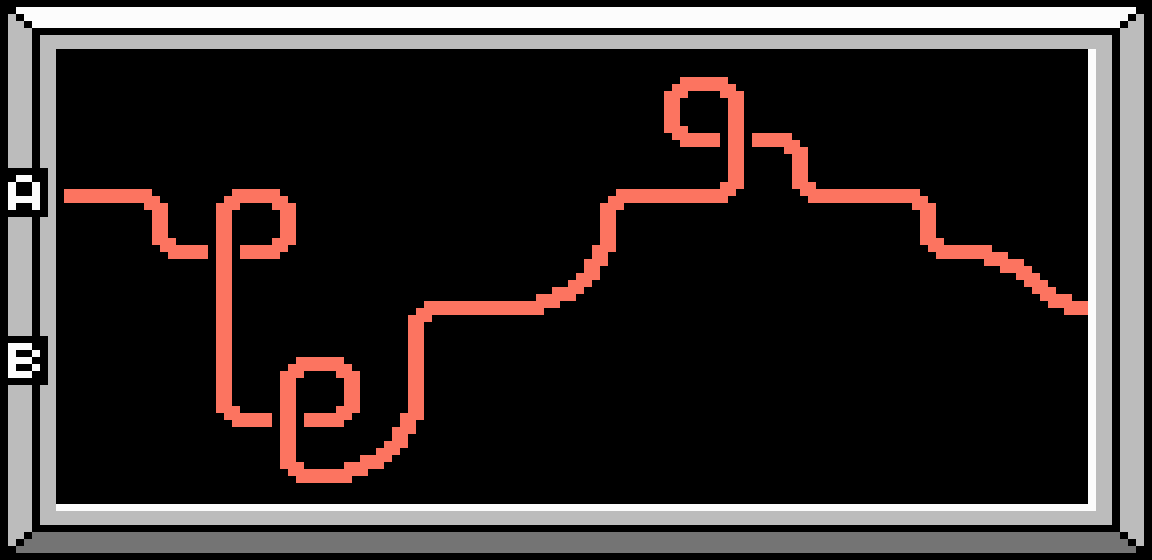
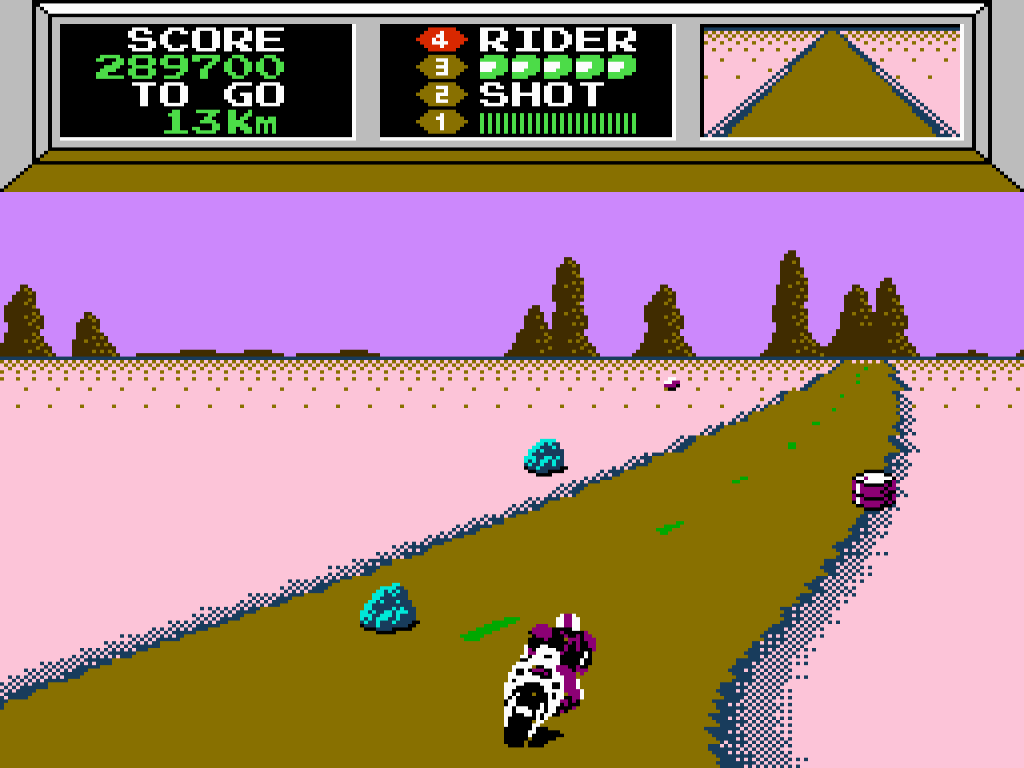
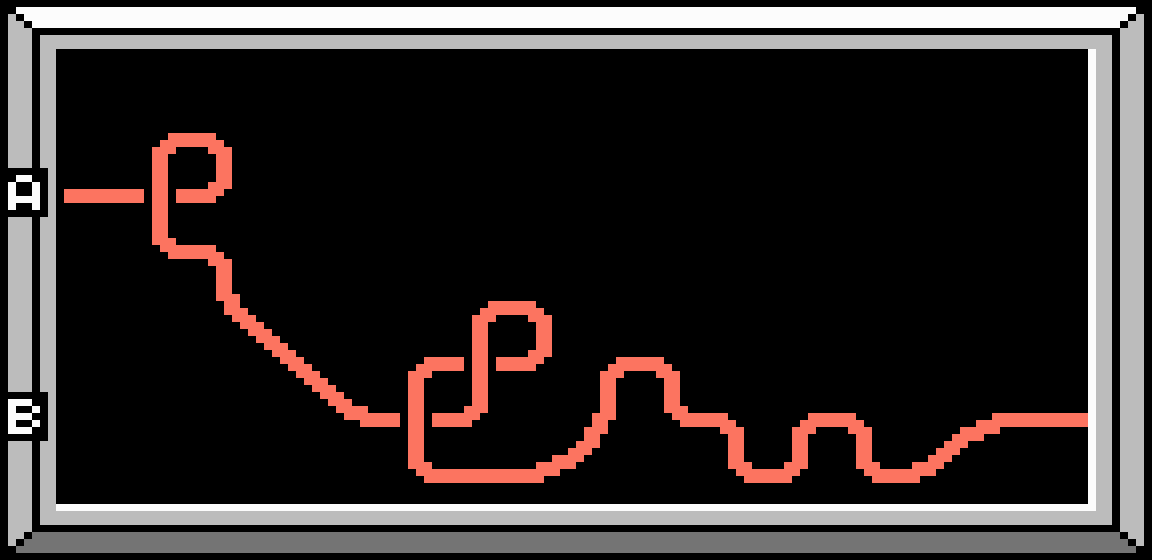
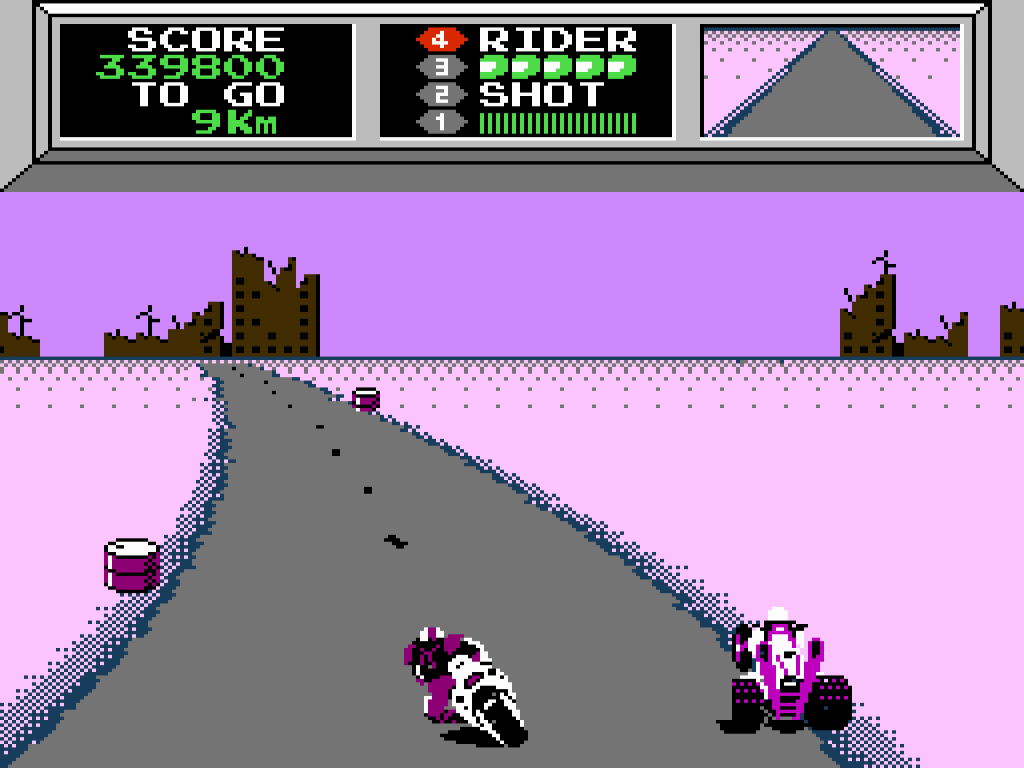
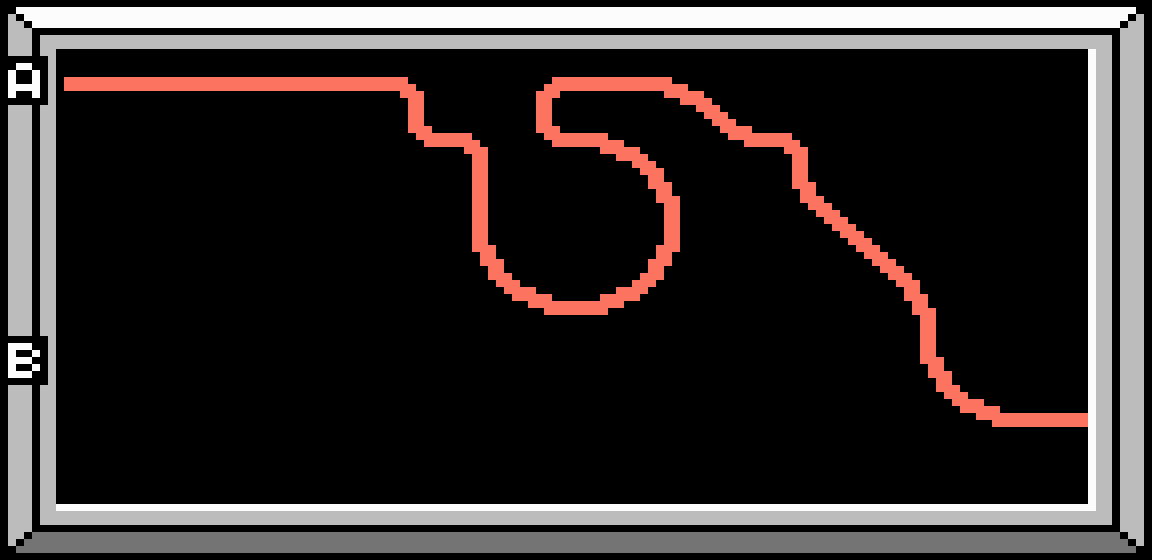
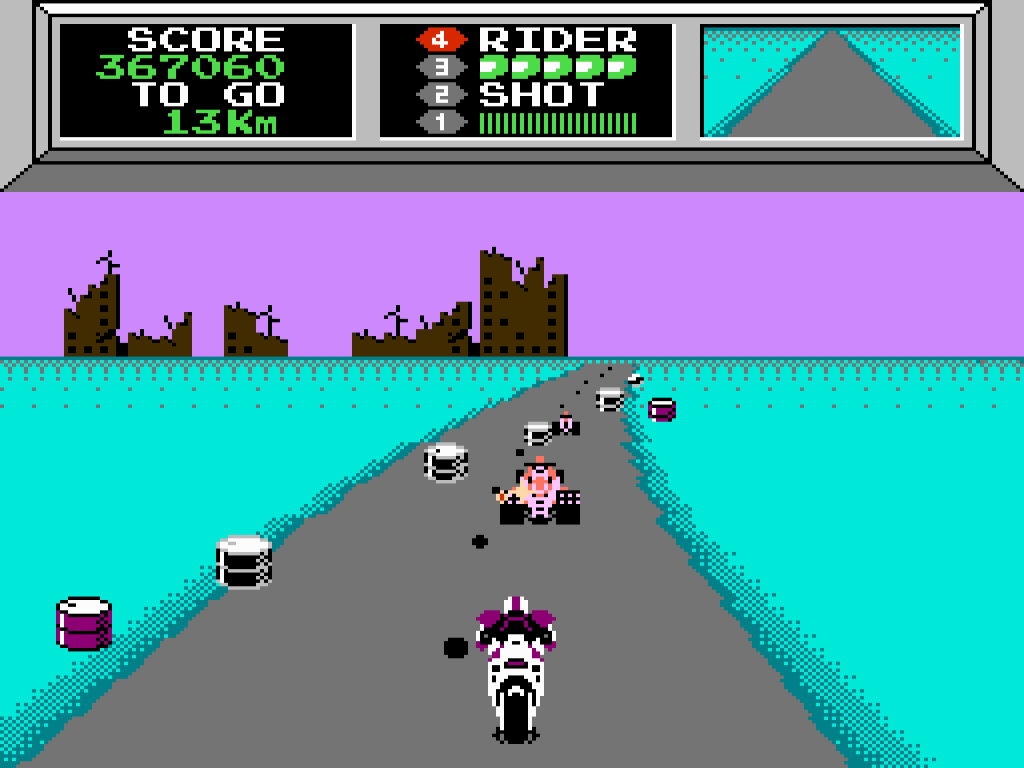
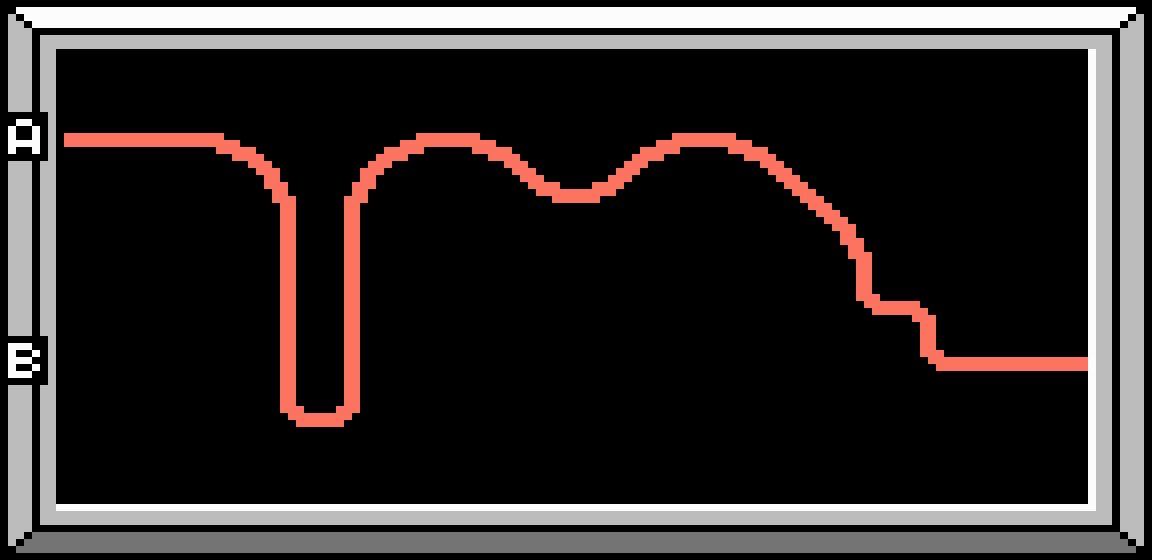
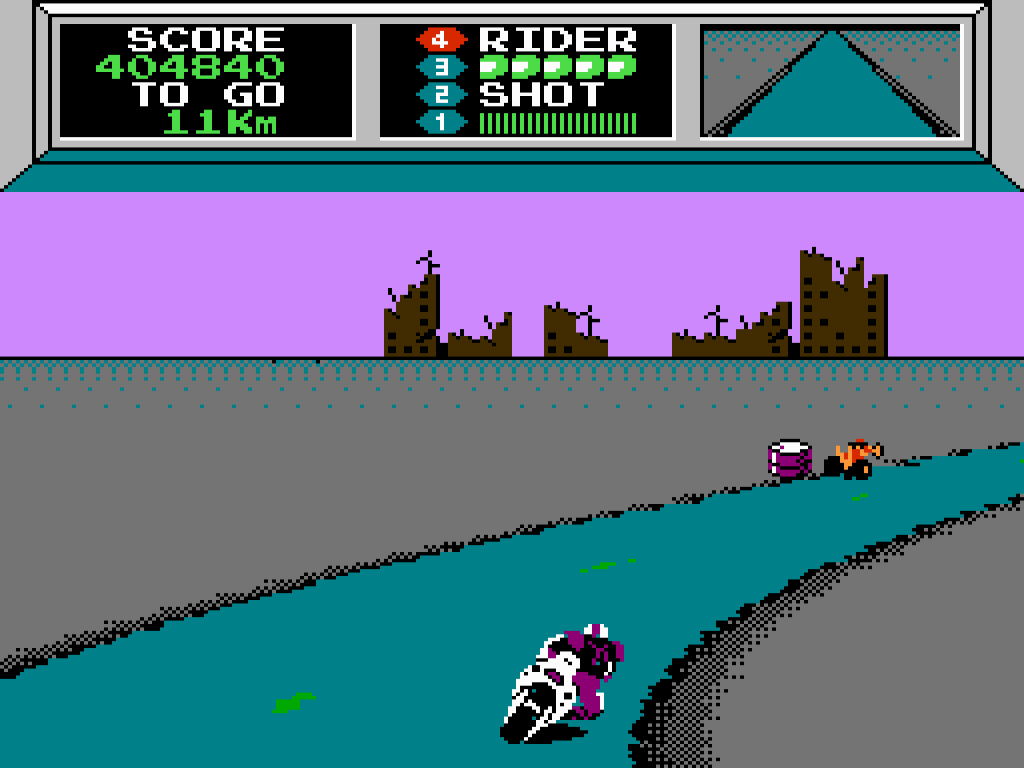
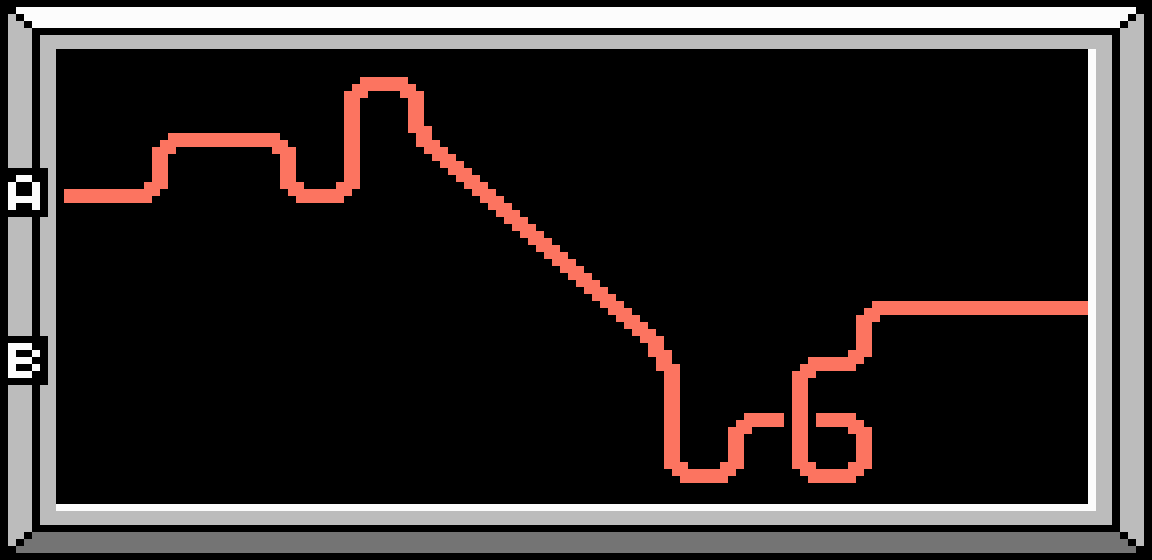
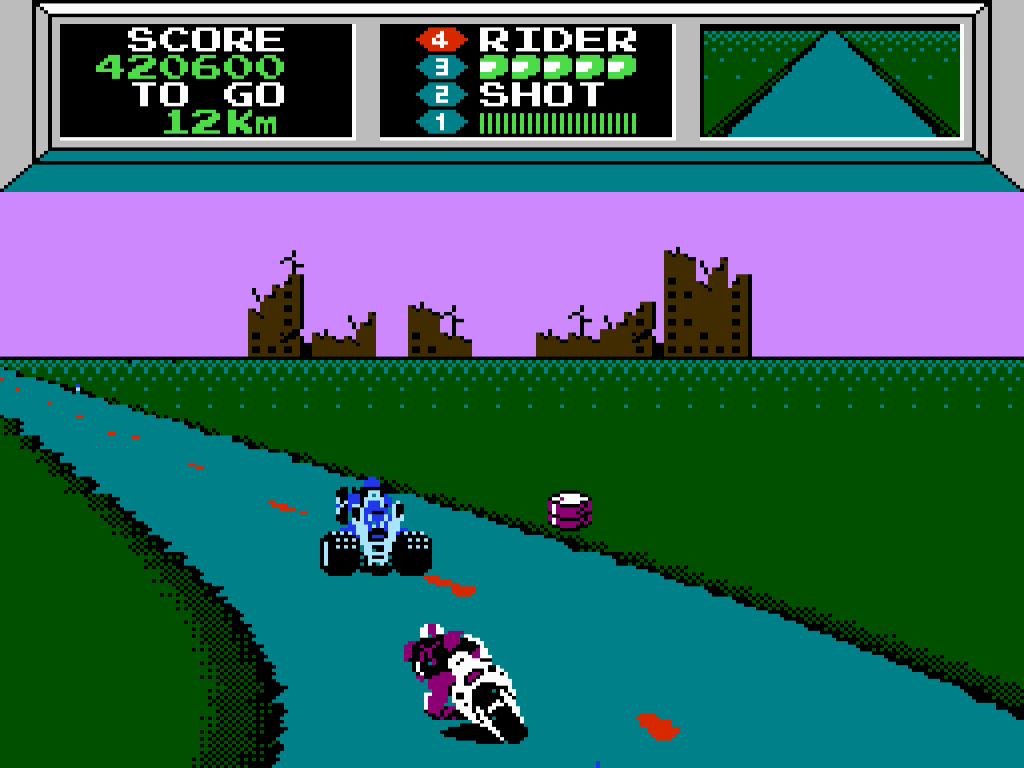
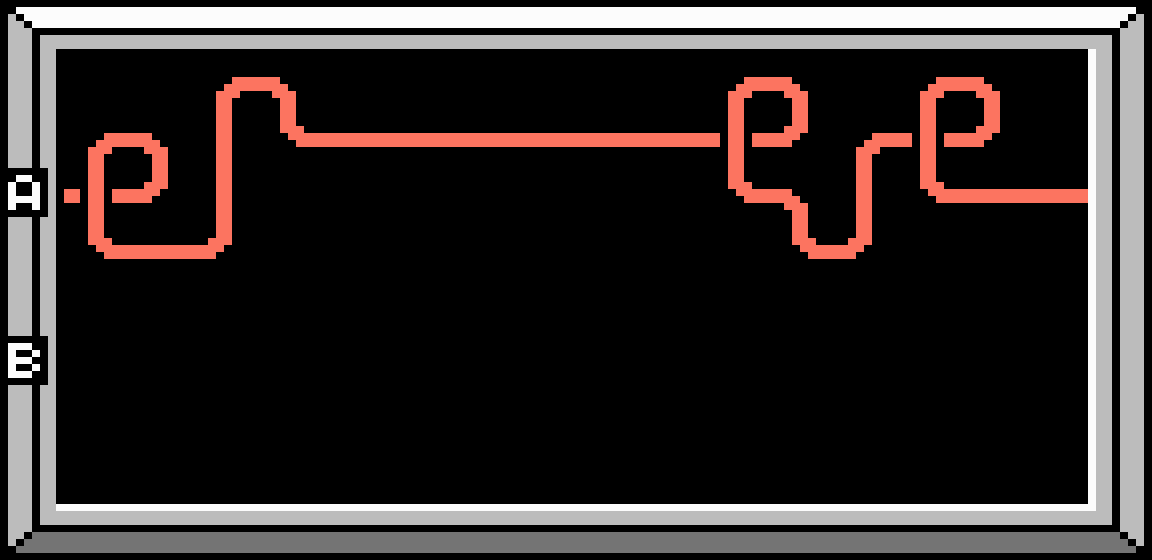
Course 1

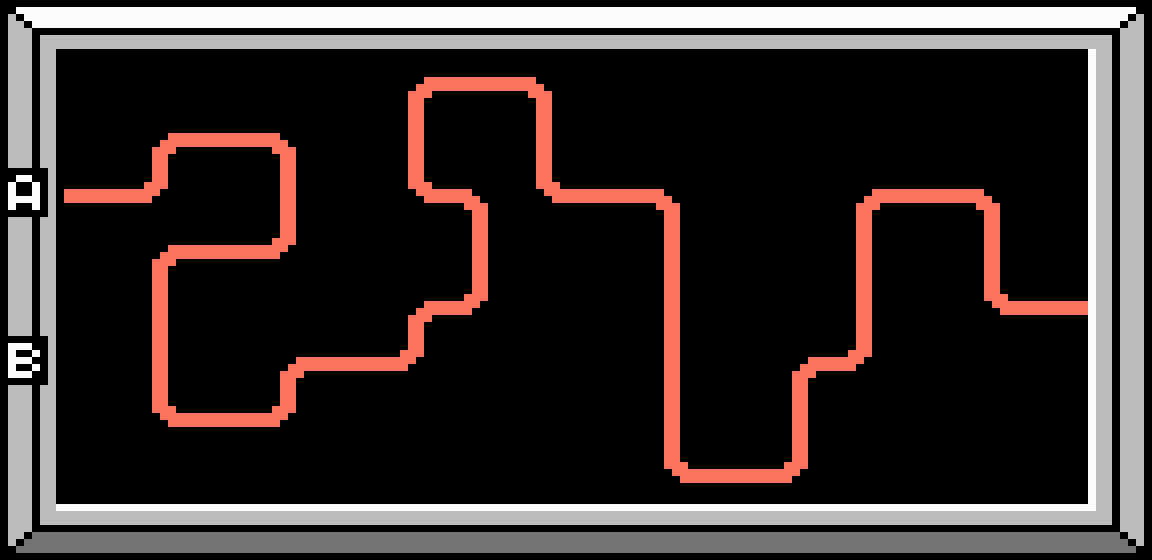
Route A
- A simple route with gentle turns for the first half and some sharper turns in the second half.
- Only basic Invaders and obstacles appear.
- If you hit a patch of water or oil, countersteer to stay on the road.
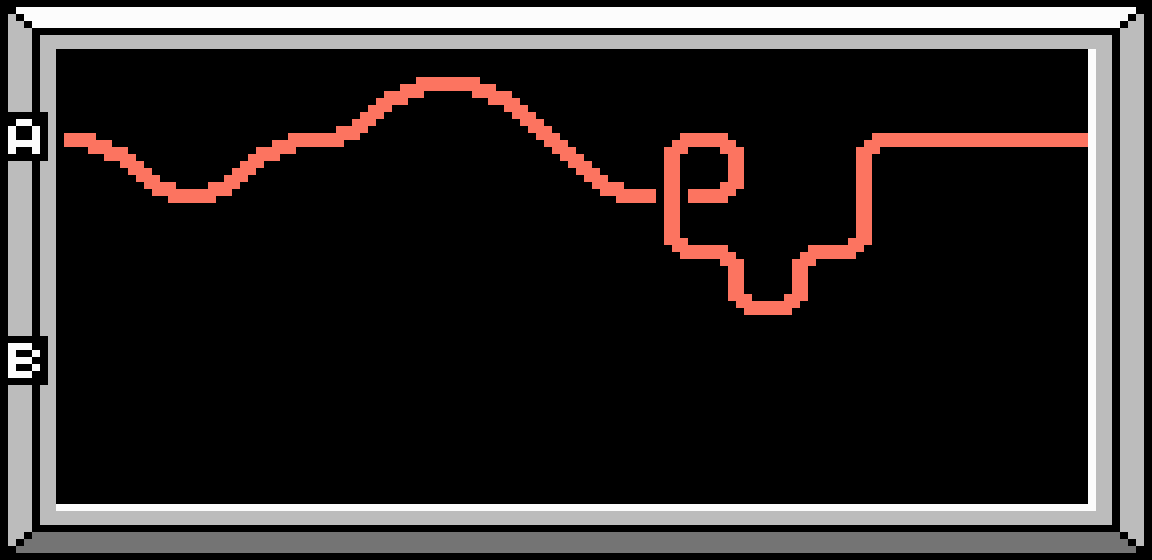
Distance: 12 Km
Obstacles: Water, Oil
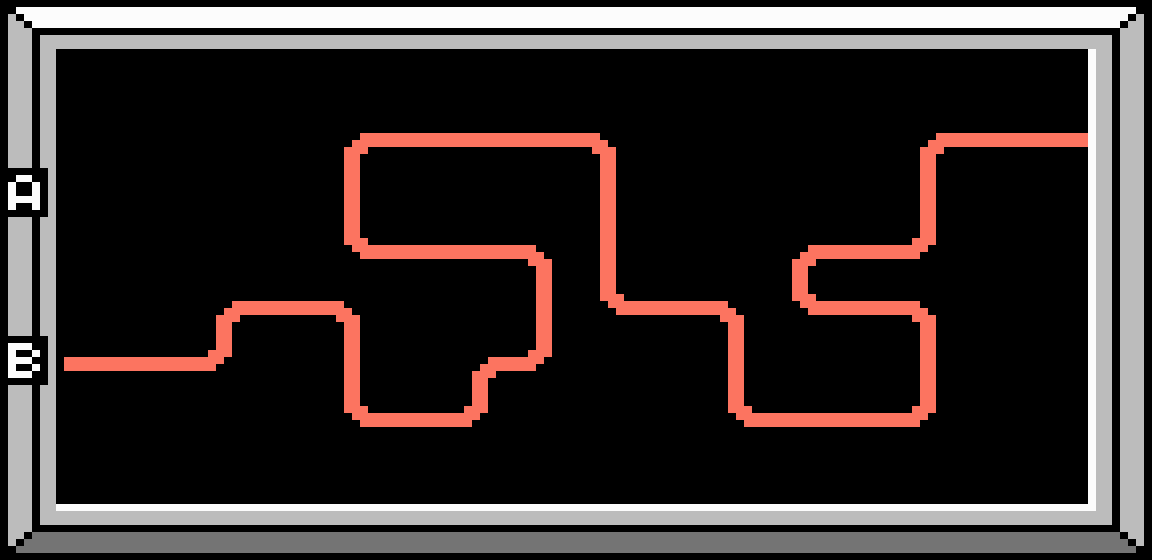
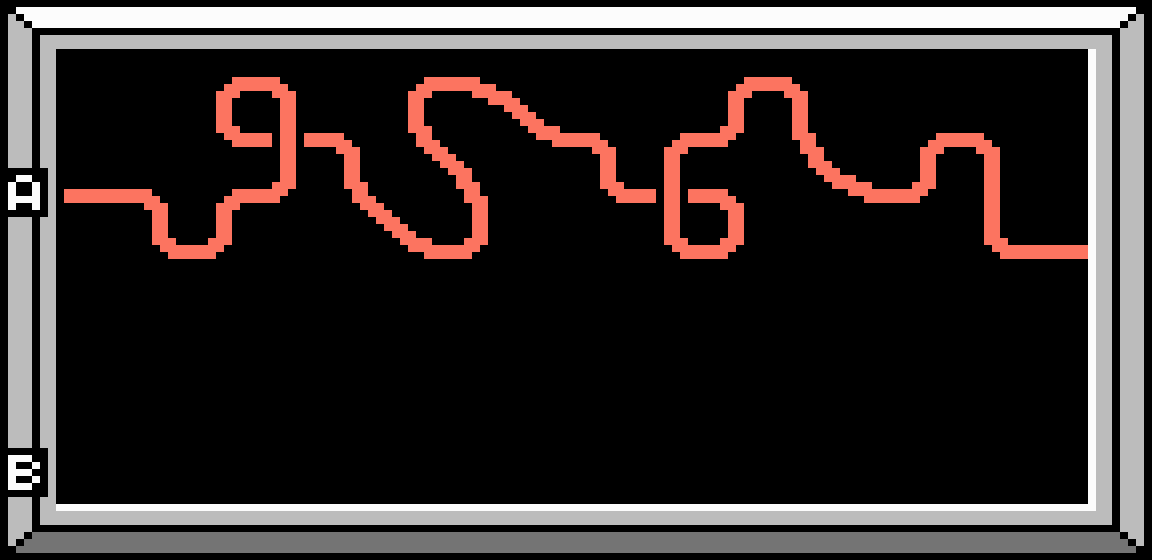
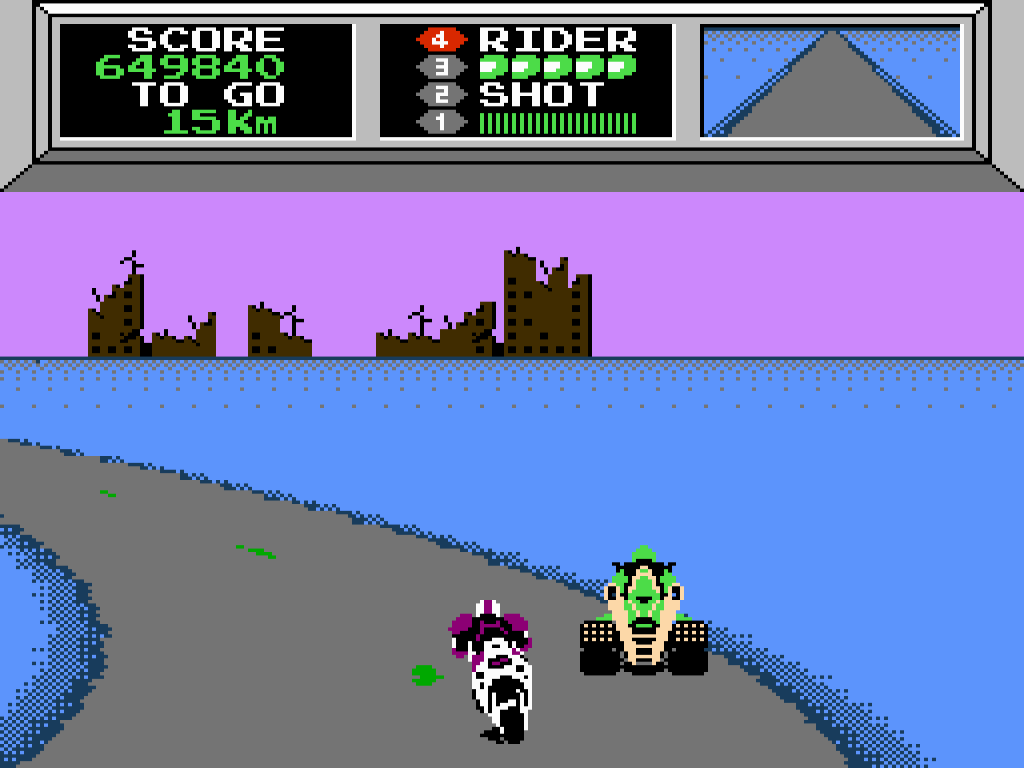
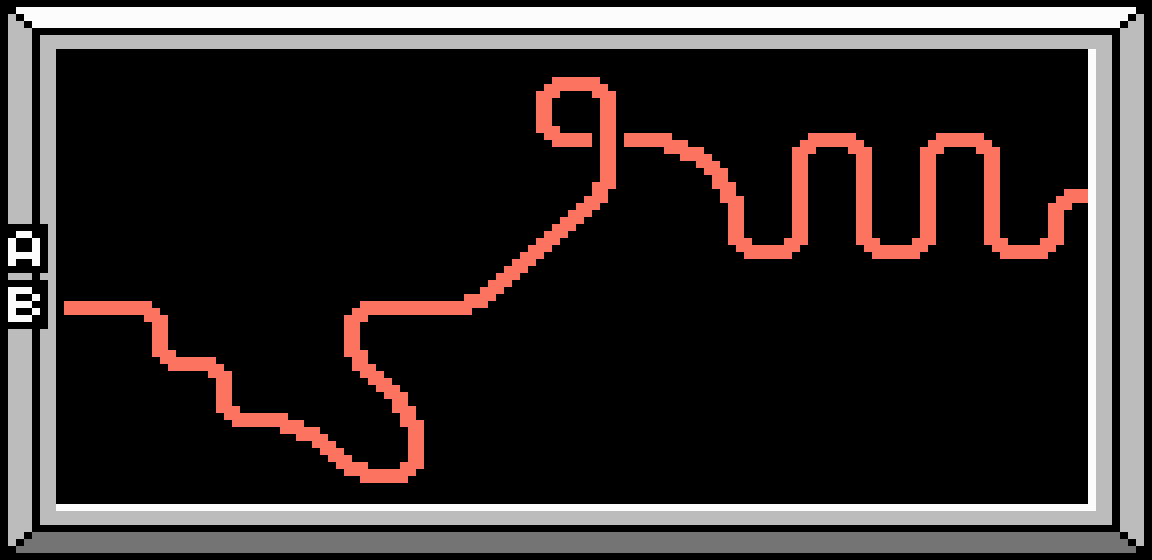
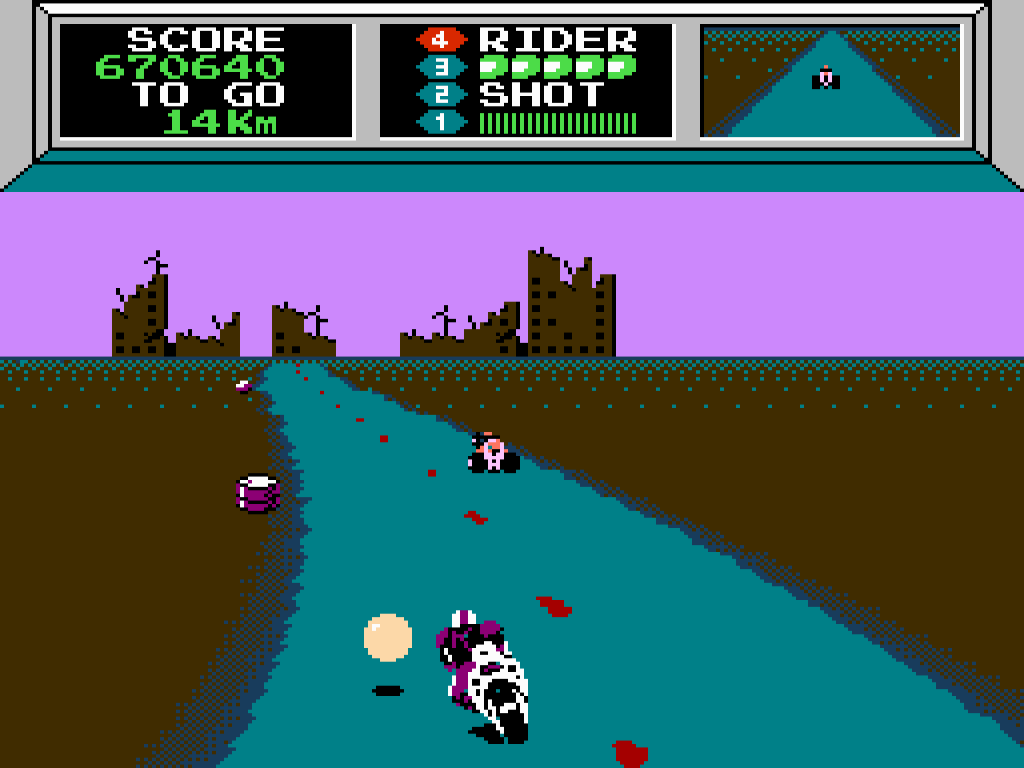
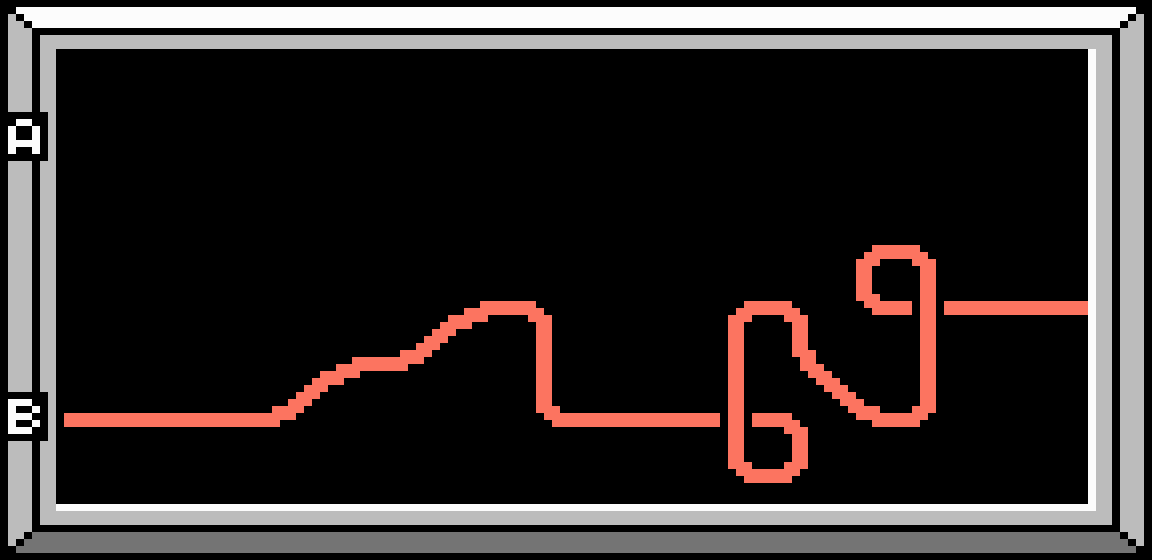
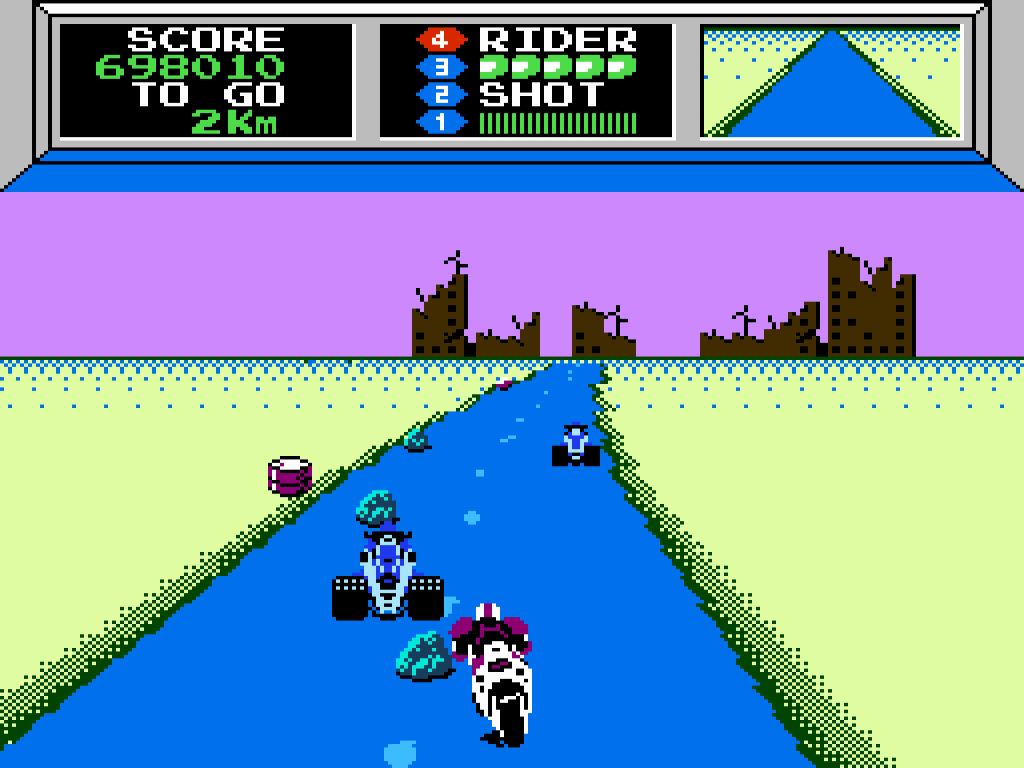
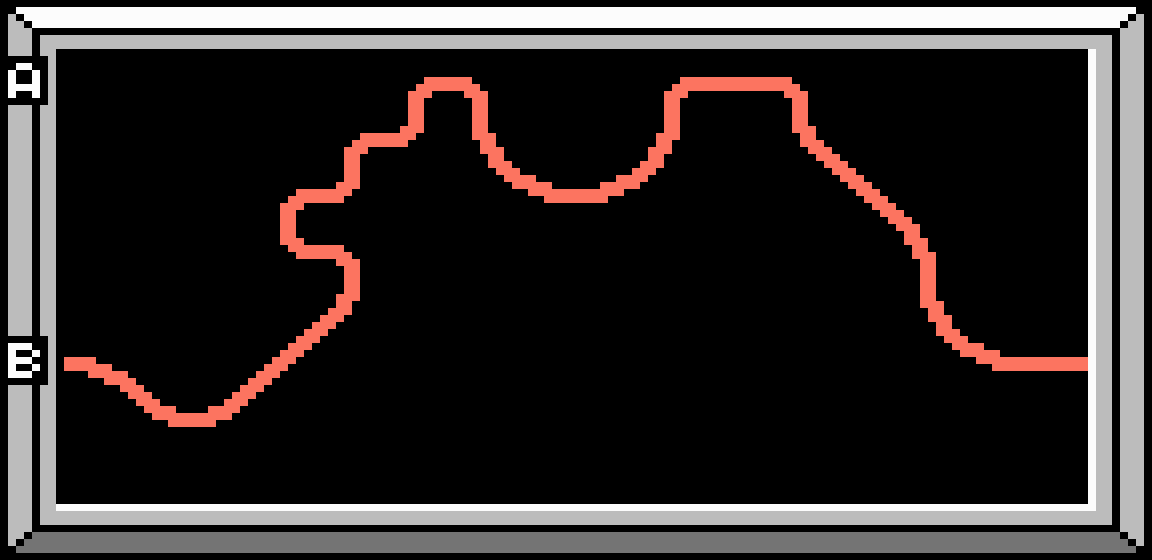
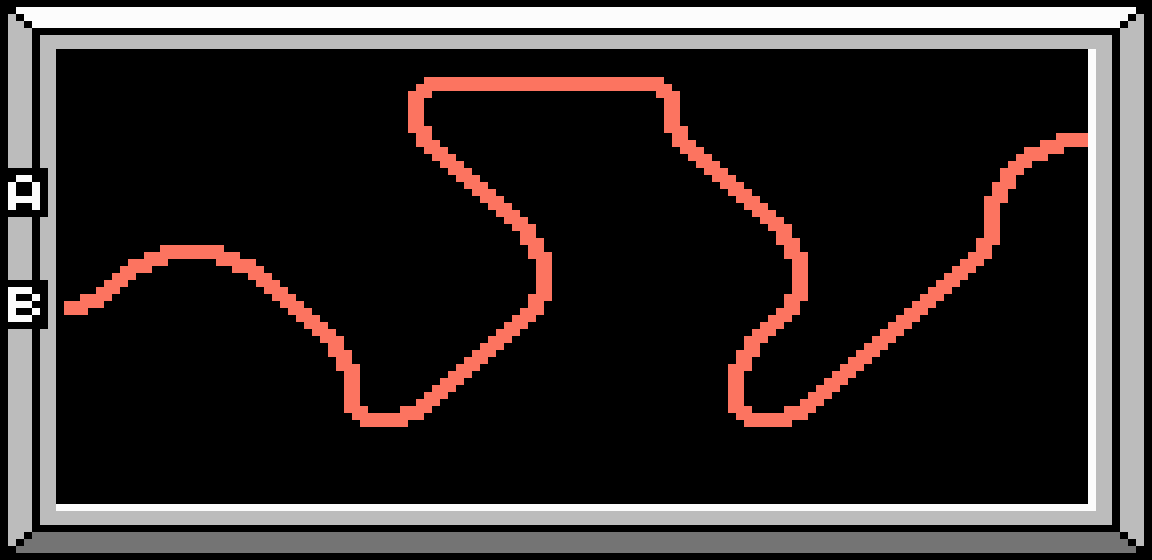
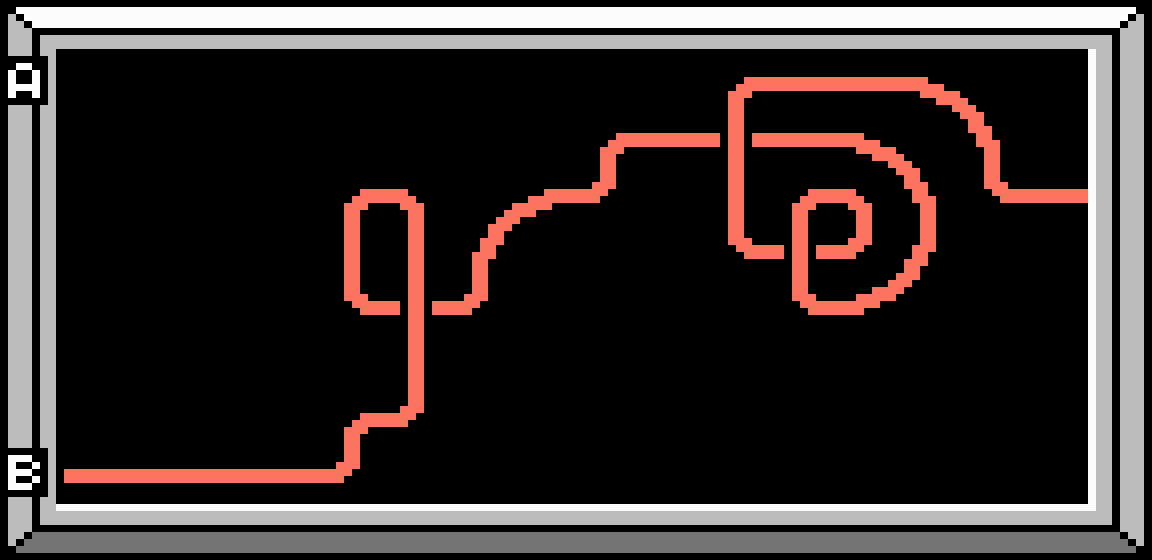
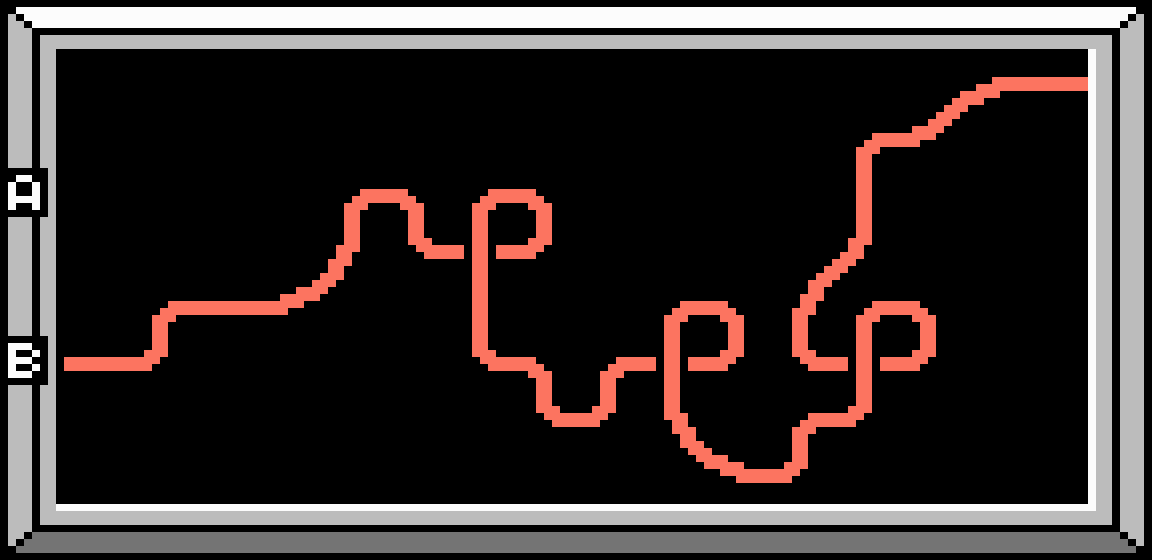
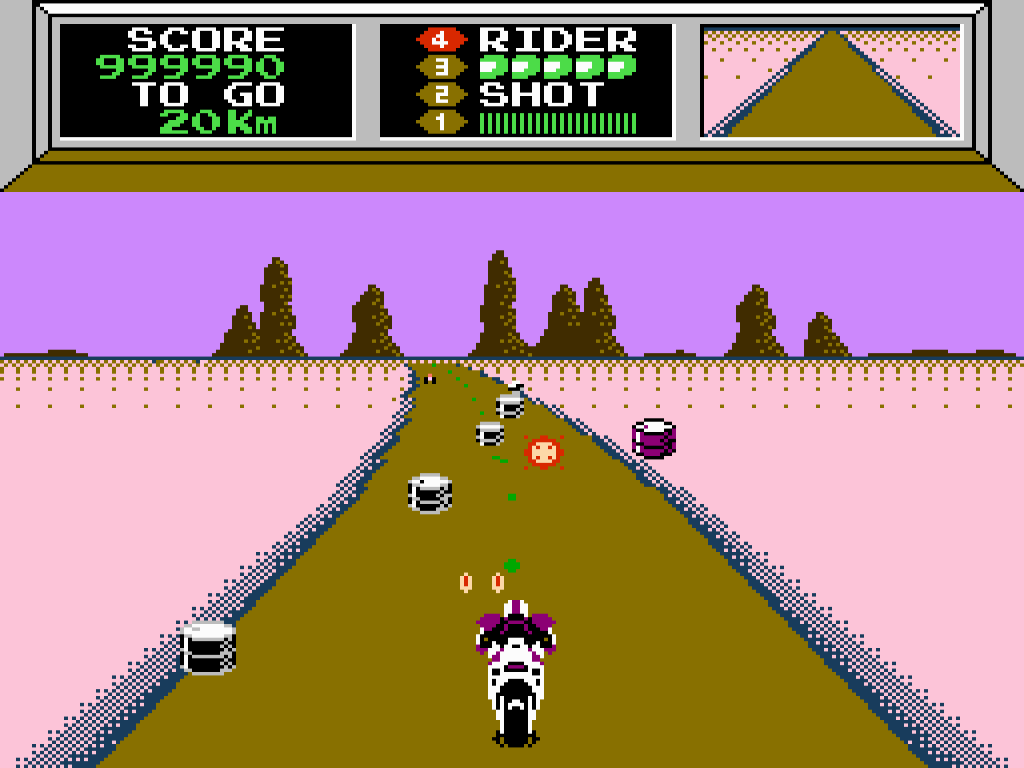
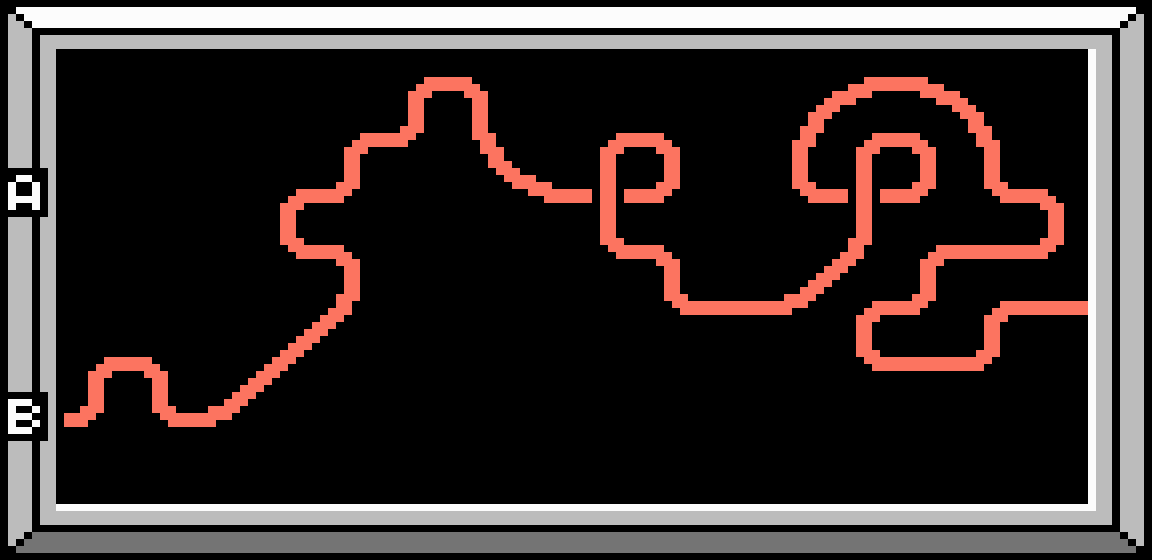
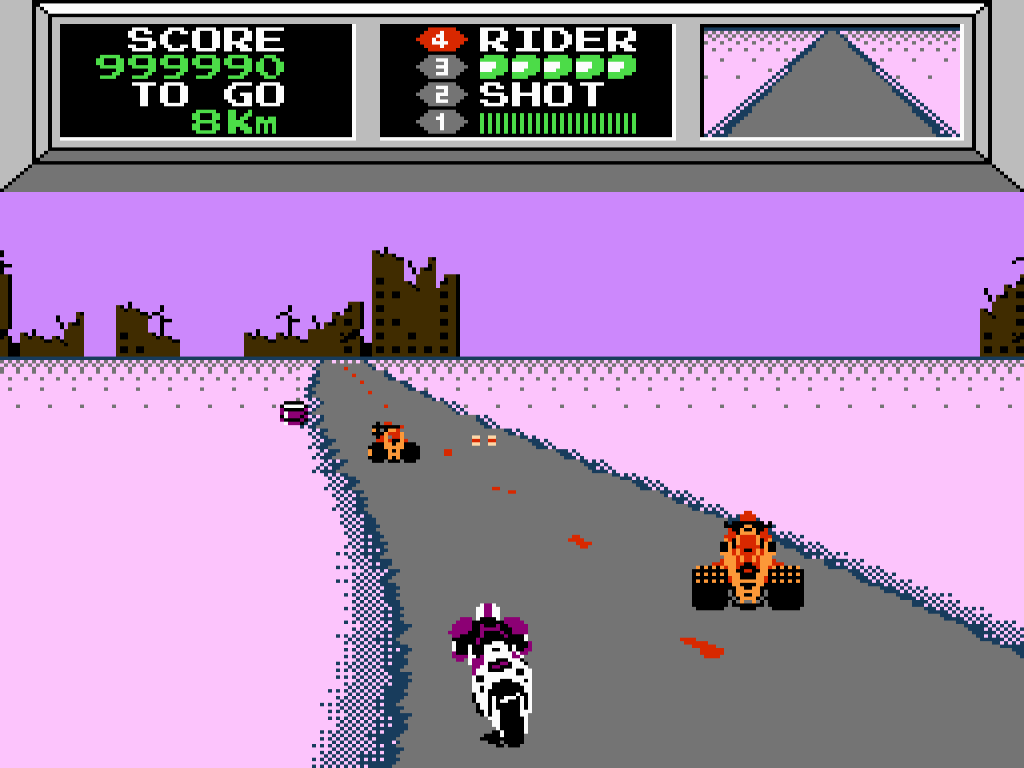
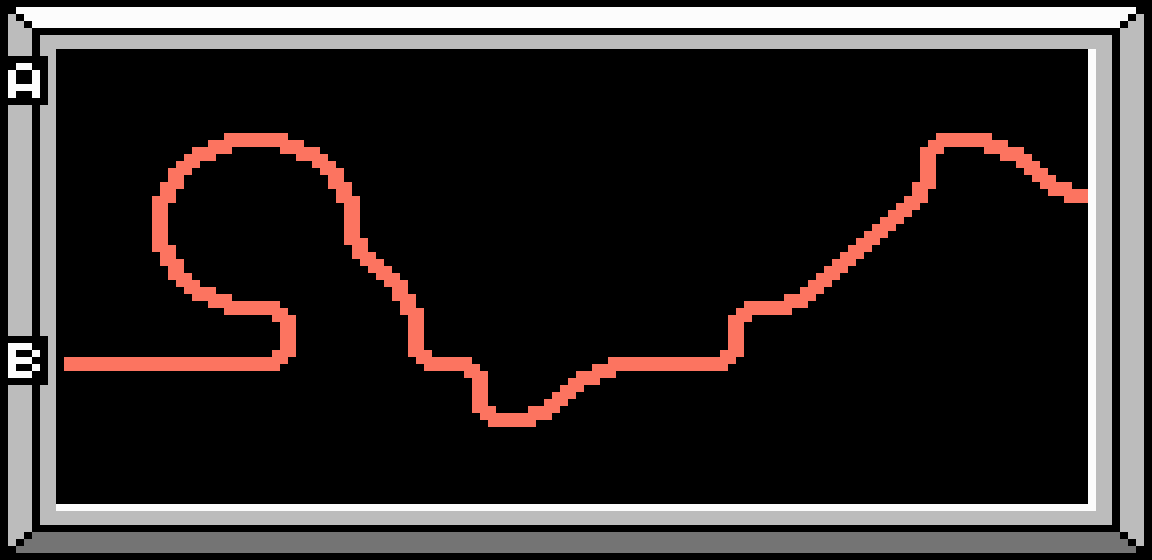
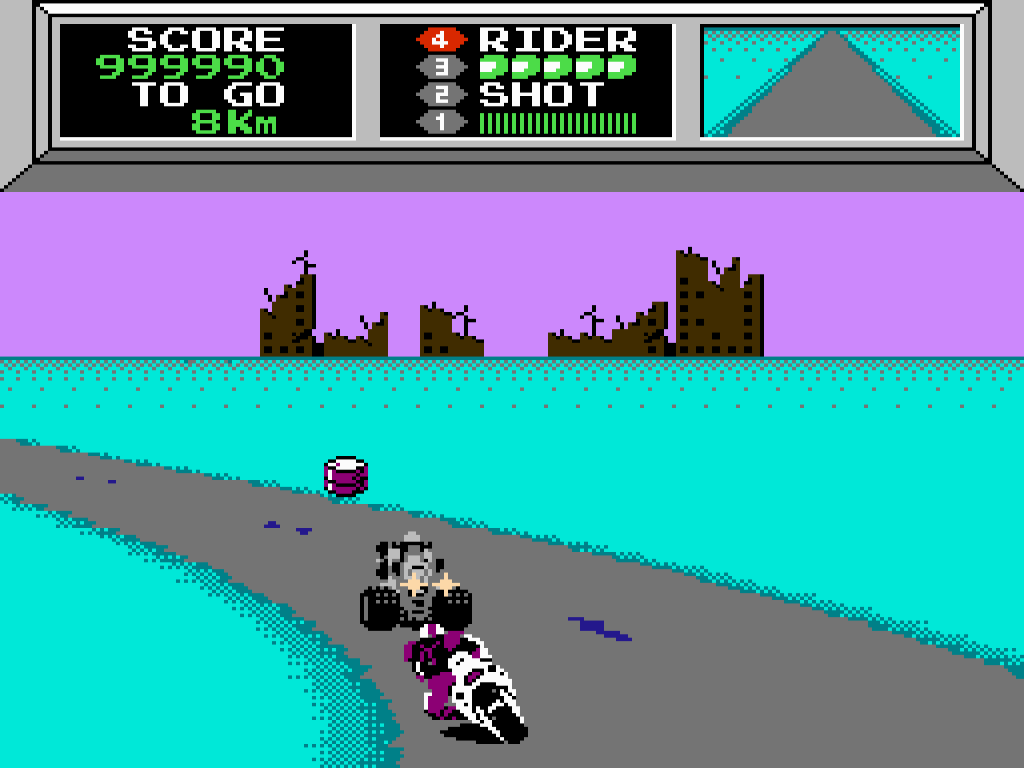
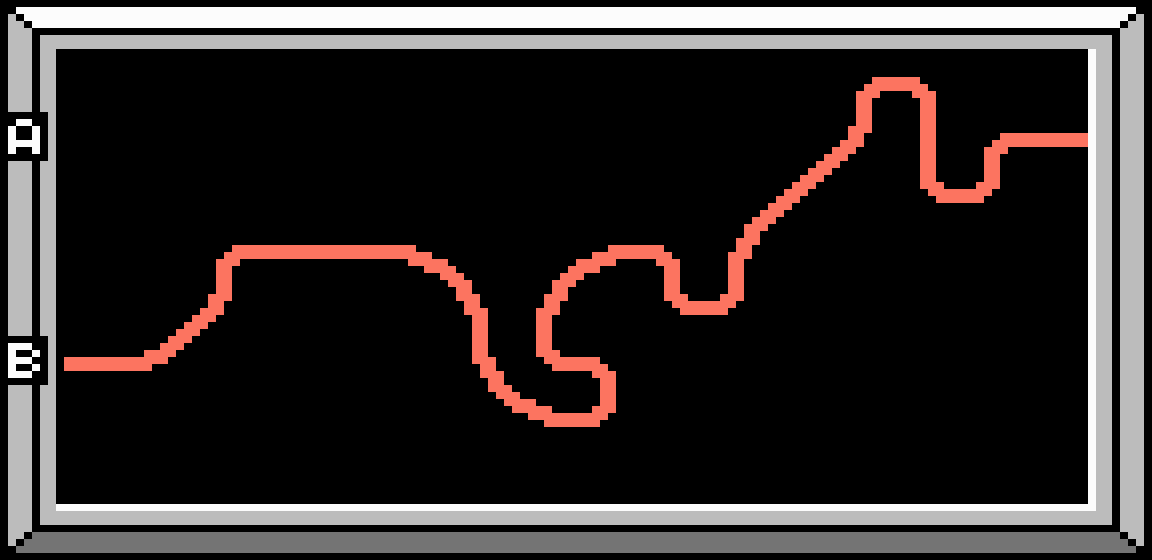
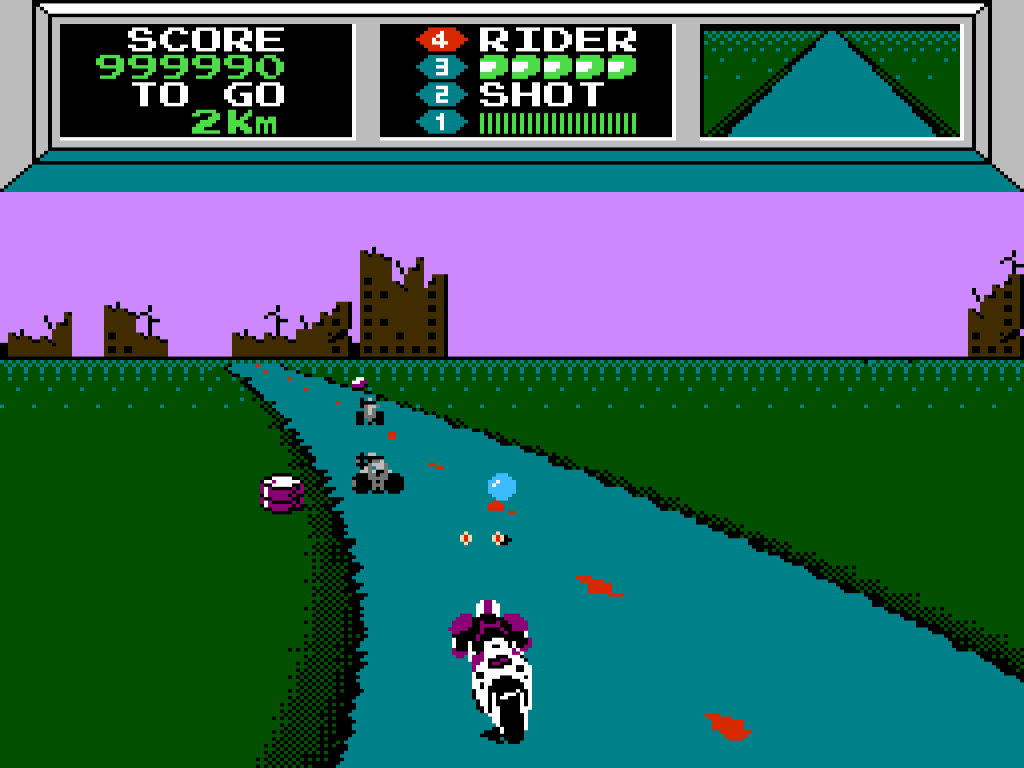
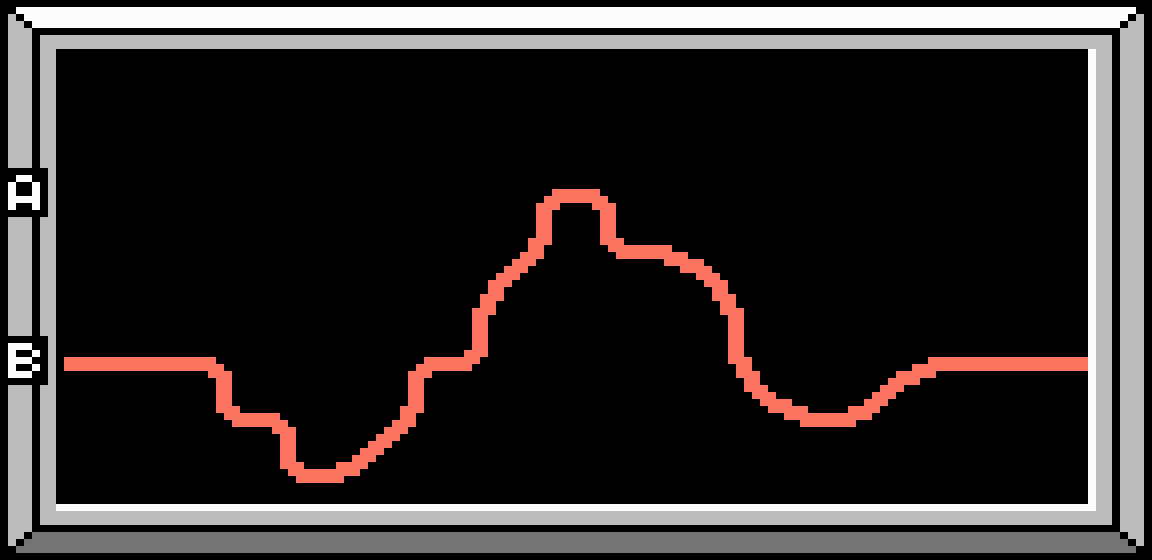
Route B
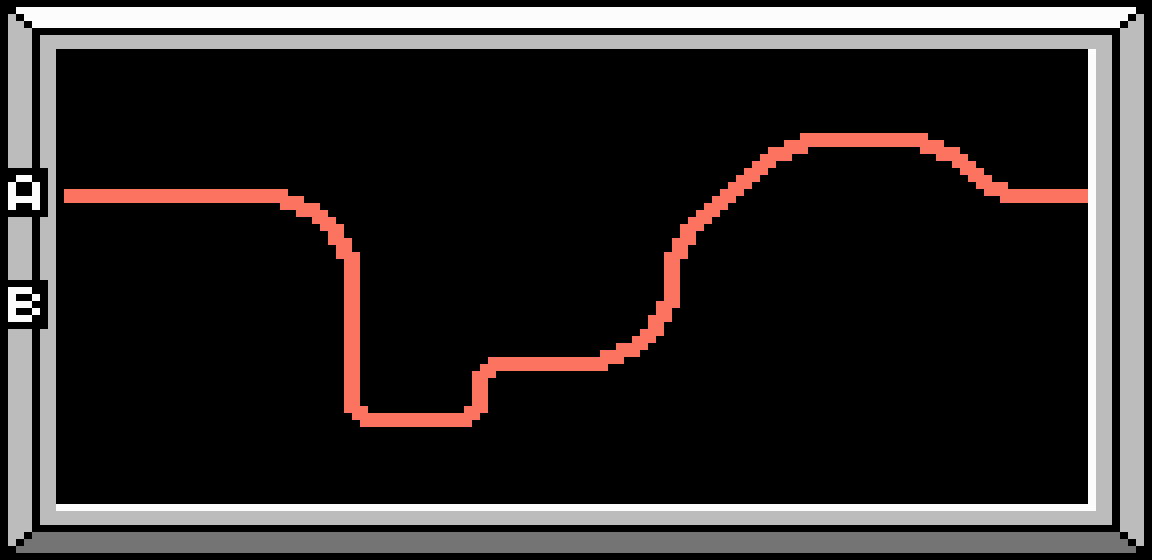
- This route starts with a few sharp turns before straightening out towards the end.
- Only Pink Invaders and a few slippery obstacles appear.
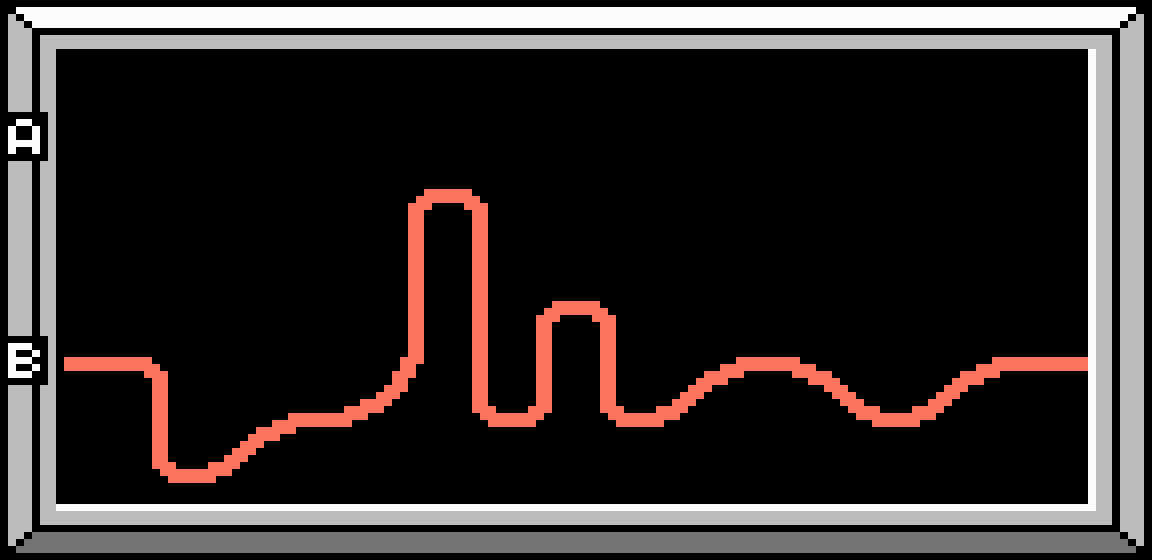
Distance: 14 Km
Obstacles: Water, Oil
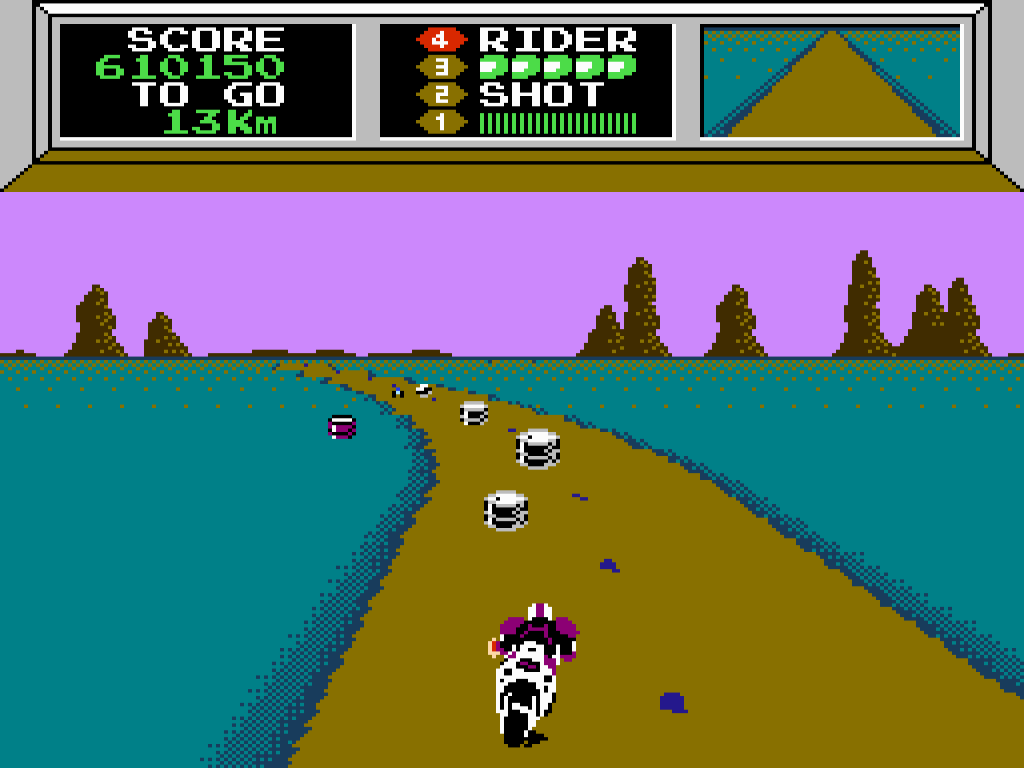
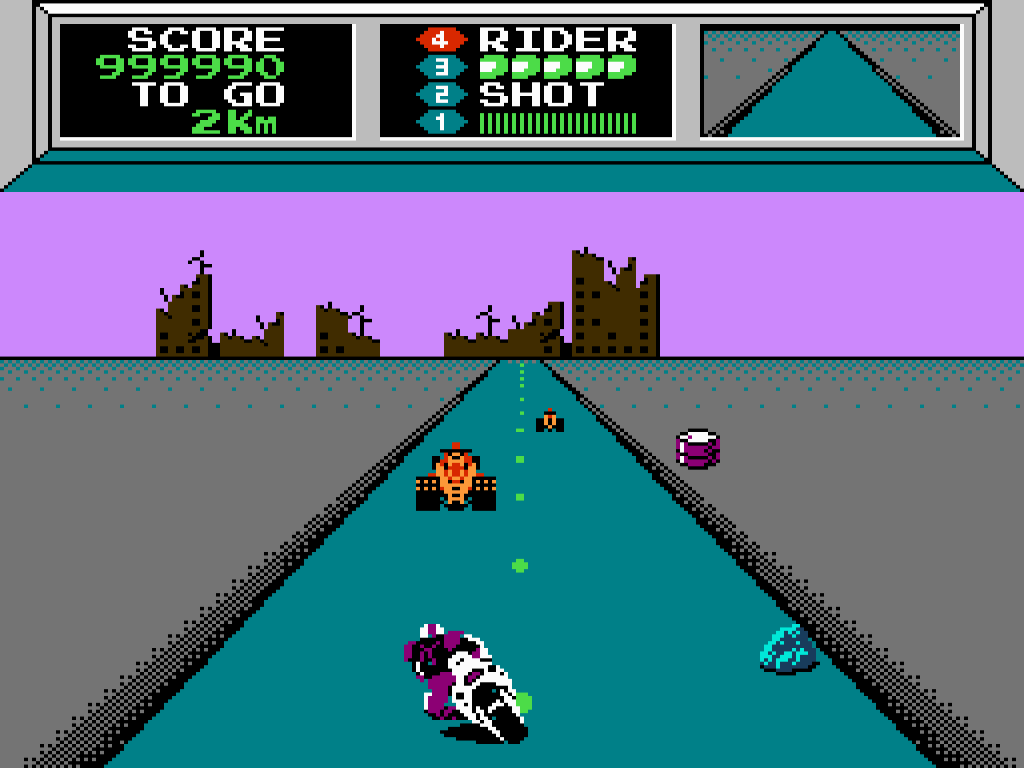
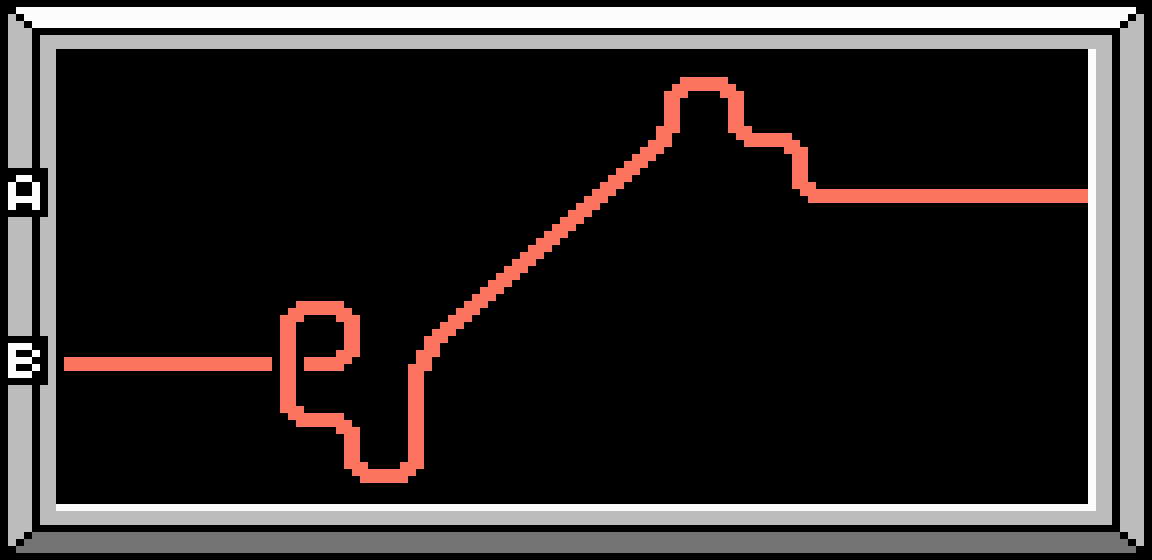
Course 2
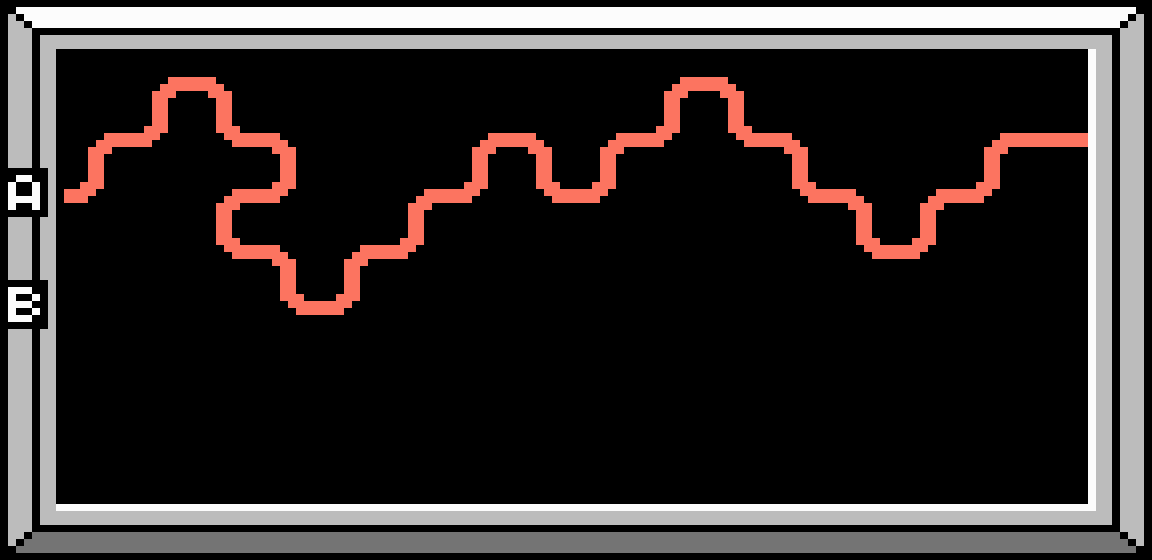
Route A
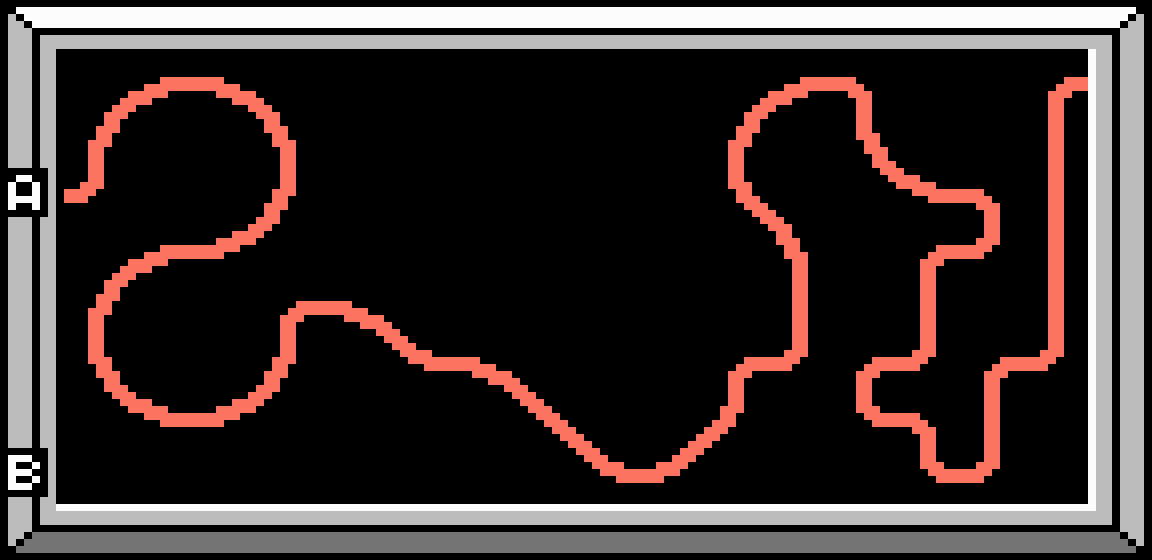
- This long route is made up of many sharp turns.
- Slow down on corners to weave between the road obstacles.
- You will only face Pink and Green Invaders, so you should be able to avoid them if you stay at top speed.
Distance: 25 Km
Obstacles: Water, Rocks
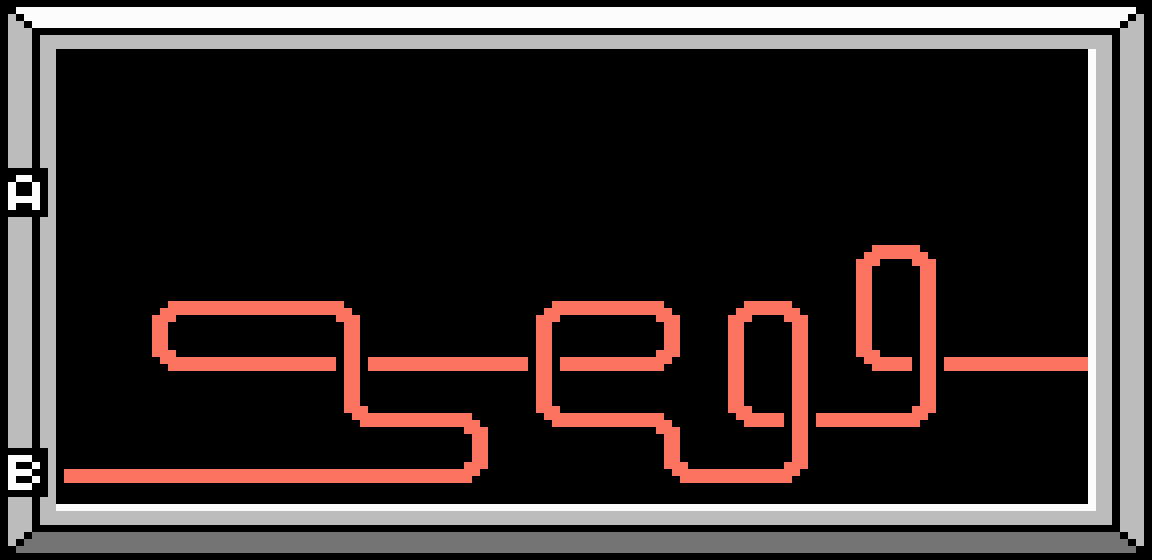
Route B
- This route is made up of long straights and sharp turns.
- Slow down on the corners to squeeze between the groups of black oil drums, then speed up so the Green Invaders don't push you around.
- This is the earliest route where you can earn the infinite ammo power up.
Distance: 23 Km
Obstacles: Water, Oil Drum
Course 3
Route A
- This winding route is full of slippery hazards. Blue invaders drop tacks in the road, and three icy slip zones will cause you to lose control. Drop to 3rd or 2nd gear to stay on the road.
- Some Bomber Balls appear on this route, but not enough to earn a power-up. Steer clear of them.
Distance: 17 Km
Obstacles: Oil Drum, Bomber Ball, Ice
Route B
- A long opening straight gives way into some sharp turns littered with road hazards.
- A couple of icy slip zones appear, along with Red and Blue Invaders.
- Beware of oil drums and rocks spread across the width of the road.
Distance: 26 Km
Obstacles: Rocks, Oil Drums, Ice
Course 4
Route A
- The first half of this route is a series of turns littered with road obstacles: oil, rocks and Bomber Balls.
- Slow down on the corners to avoid crashing into unseen obstacles.
- The second half of this route features long straights with a few sharp turns.
- This is the earliest stage where you can earn the one-shot power-up, by shooting exactly six Bomber Balls. They are a little easier to hit if you downshift to third gear.
Distance: 20 Km
Obstacles: Oil, Rocks, Bomber Balls
Route B
- The start of this route is a series of sharp turns weaving left and right.
- Around halfway through the course is a large turn littered with black Oil Drums.
- Slow down on the corners to avoid crashing into unseen obstacles.
Distance: 18 Km
Obstacles: Water, Oil Drums
Course 5
Route A
- This unique route is one long icy slip zone.
- Take corners in a lower gear to avoid sliding out of control.
- Purple Invaders may show up towards the end of the course, so keep an eye on your rear view mirror.
Distance: 15 Km
Obstacles: Oil Drums
Route B
- This routes starts with a long, simple straight. Don't get caught out by the Bomber Balls.
- As the road starts to get bendier, an icy slip zone appears. Downshift to avoid losing control.
- When you leave the slip zone, watch out for Purple Invaders from behind and Bomber Balls in front.
- A second slip zone near the end of the route may see you facing Black Invaders.
Distance: 15 Km
Obstacles: Rocks, Bomber Balls, Ice, Tacks
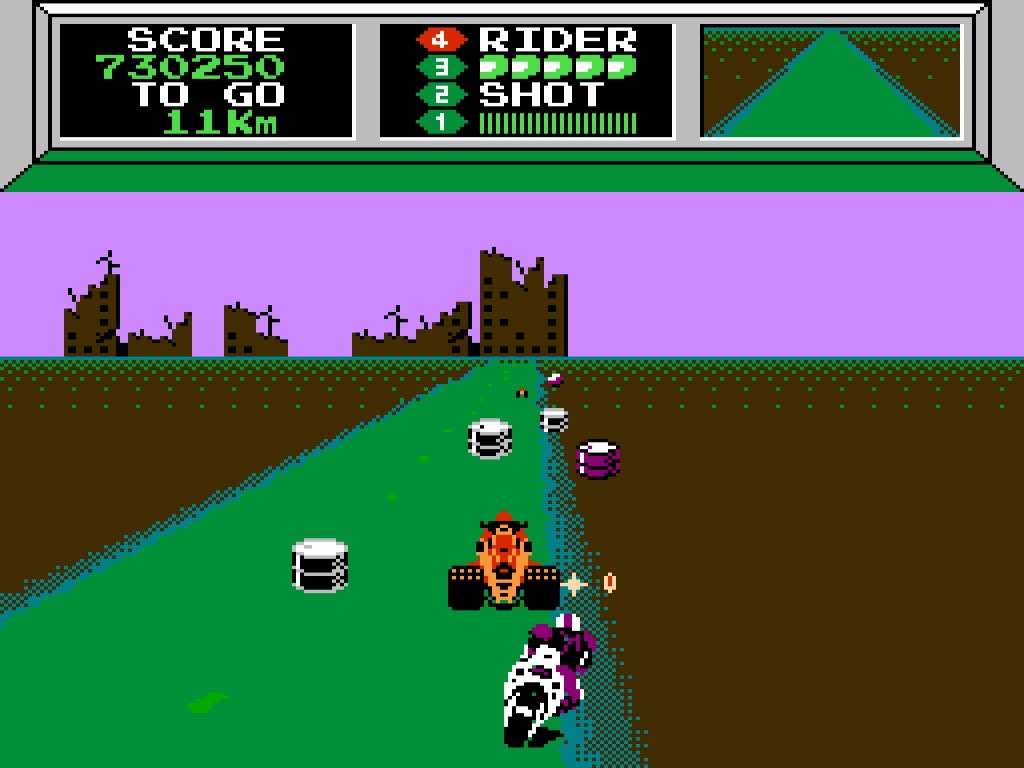
Course 6
Once you've reached Course 6, you can use the Continue Code to start from here after a Game Over.
Route A
- This route opens with a slalom of bends littered with oil drums and oil slicks.
- When you move onto the straight, look out for Bomber Balls.
- An icy slip zone will appear, but be cautious about slowing down too much, as Purple Invaders will try to sneak attack from behind.
Distance: 11 Km
Obstacles: Oil Drums, Oil, Bomber Balls
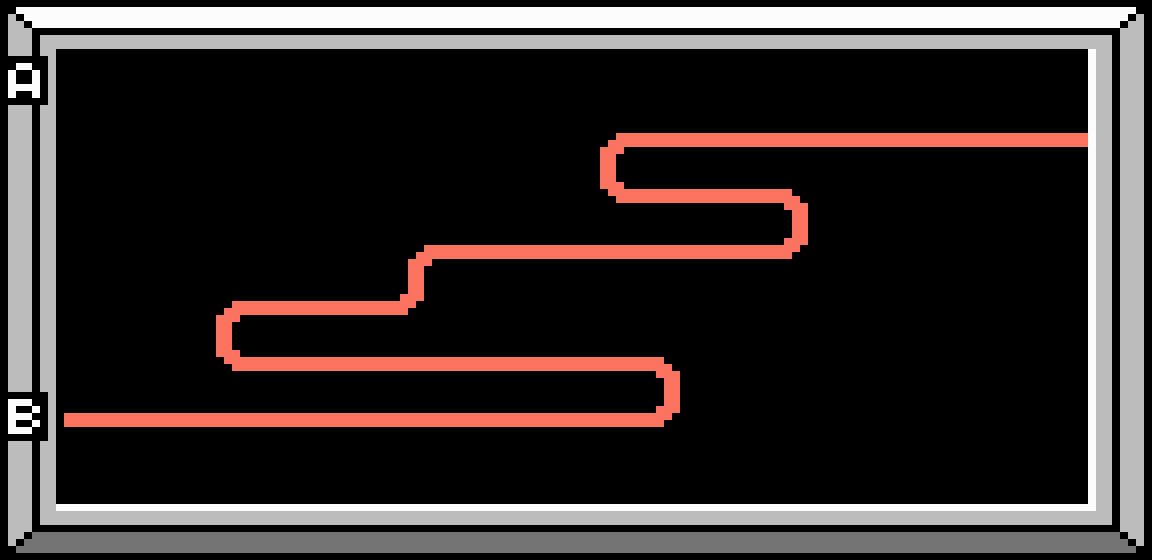
Route B
- The first 5 Km of this route take place in an icy slip zone. While most of it is gentle curves, there are some sharp turns towards the end. Downshift to stay on the road.
- After the slip zone, you will need to weave between tacks, rocks and black Barrels. Blue Invaders also appear to drop more tacks on the road.
- As you approach the goal, another icy slip zone appears. The road doesn't bend much, so you can speed to the end.
Distance: 12 Km
Obstacles: Ice, Tacks, Oil Drums, Rocks
Course 7
Route A
- This route features very long straights and slippery road obstacles.
- An icy slip zone appears as you reach the first bend.
- The toughest Purple and Black Invaders will appear and hassle you.
Distance: 19 Km
Obstacles: Tacks, Water, Oil
Route B
- This route is made up mostly of long straights with a few sharp bends.
- The first straight is littered with clusters of road obstacles.
- As you round the first corner, you'll hit an icy slip zone and encounter some Black Invaders. The slip zone ends as you reach the next corner, but Black Invaders will appear throughout the route.
- A second slip zone appears with 7 Km to go as you're weaving between black barrels on a corner. Drop your speed here.
Distance: 20 Km
Obstacles: Oil Drums, Rocks, Ice
Course 8

Route A
- This route features a lot of sharp turns through some tricky road obstacles.
- Slow down on corners if you're not sure what lies ahead.
- Only weak Invaders appear, as this sector has not yet been invaded.
Distance: 19 Km
Obstacles: Tacks, Oil Drums, Rocks
Route B
- This short route features gentle turns and water slip hazards.
- Only weak Invaders appear, as this sector has not yet been invaded.
- Don't let your guard down! Bomber Balls also show up on this course.
Distance: 16 Km
Obstacles: Water, Oil, Bomber Balls
Course 9
Route A
- A very long, very tough route.
- The long straights and sweeping bends are filled with tough enemies and tricky obstacles.
- Don't relax on the straights, as you'll need to swerve between Bomber Balls.
Distance: 22 Km
Obstacles: Oil, Bomber Balls, Rocks
Route B
- You start on a simple straight, but this quickly gives way to a series of sharp turns littered by road obstacles.
- Blue Invaders and Bomber Balls appear in large numbers.
- Later in the route, you will be attacked by a few Black and Purple Invaders as you weave around black Oil Drums on some sharp corners. Focus on evasion rather than engaging the enemy.
Distance: 21 Km
Obstacles: Water, Bomber Balls, Oil Drums
Course 10
Route A
- The first half of the route features sharp turns through rocks and puddles of water.
- Purple Invaders will appear from behind to push you around.
- If you're lucky, the last few Km of this course will be a quiet cruise over the goal line.
Distance: 19 Km
Obstacles: Water, Rocks
Route B
- This winding route, is covered on oil slicks and black oil drums.
- Purple Invaders will harass you from behind for most of the course.
- As you approach the end of the route, Black Invaders will show up to push you around.
Distance: 20 Km
Obstacles: Oil, Oil Drums
Ending
After Course 10, the story starts over with 10 more courses to beat.
Course 11
Once you've reached Course 11, you can use the Continue Code to start from here after a Game Over.

Route A
- This route is a rapidly alternating series of left and right turns.
- Drop to third gear to make it easier to avoid crashing into the many road obstacles, but watch out for Purple Invaders sneaking up from behind.
Distance: 12 Km
Obstacles: Rocks, Bomber Balls, Oil Drums, Water, Oil
Route B
- This route is a rapidly alternating series of left and right turns.
- Road obstacles of every variety appear here. Stick to the middle of the road to avoid Bomber Balls, and slow down to weave between rocks and black Oil Drums.
- Towards the end of the course, Purple Invaders appear in your rear view and pursue you to the goal line.
Distance: 11 Km
Obstacles: Rocks, Bomber Balls, Oil Drums, Water, Tacks, Oil
Course 12
Route A
- After the first two corners, most of this long route is made up of straights full of obstacles and occasionally an icy slip zone.
- Mostly weaker Invaders appear, but you will also need to dodge Bomber Balls.

Distance: 25 Km
Obstacles: Rocks, Oil Drums, Tacks, Water, Bomber Balls, Ice
Route B
- This route features a lot of long straights littered with almost every kind of road obstacle.
- Only a handful of weak Invaders appear near the start, so slowing down to weave around the road obstacles is a sensible tactic.
- A slip zone will appear with 11 Km to go, and will stick around for two sharp bends. If you drive straight most of the way, you only need to downshift for the bends.

Distance: 24 Km
Obstacles: Oil Drums, Rocks, Tacks, Water, Bomber Balls, Ice
Course 13
Route A
- This route is full of sharp turns covered in road obstacles, plus the toughest Invaders as well.
- An icy slip zone kicks in with 3 Km to go and runs to the end of the course. There are very few turns for this stretch, so stay in high gear if you can.
Distance: 16 Km
Obstacles: Oil Drums, Rocks, Tacks, Water, Bomber Ball, Ice (3Km)
Route B
- This winding route starts you on a series of alternating bends.
- Obstacles are scattered over many of the blind bends, so make sure to slow down before approaching.
- Black Invaders appear later in the course. It can be safer to match their speed and ride behind than to try and overtake.
Distance: 22 Km
Obstacles: Oil Drums, Rocks, Tacks, Water, Bomber Balls, Ice
Course 14
Route A
- This route opens with an icy slip zone that passes after the first corner.
- The second icy slip zone is more dangerous, as it appears while you navigate rock-filled bends and Purple Invaders attack from the rear.
- A third icy slip zone appears towards the end of the course, so take the corners carefully and cruise to the end.
Distance: 14 Km
Obstacles: Rocks, Oil Drums, Ice
Route B
- A short route along some wide curving roads.
- While there are many road obstacles to think about, the Bomber Balls come thick and fast in the first half of the route.
- Don't be tempted to slow down too much, as Purple Invaders appear from behind to ram you.
Distance: 13 Km
Obstacles: Oil Drums, Rocks, Bomber Balls, Tacks, Oil
Course 15
Route A
- The simple map and short course length are misleading: on this course you will be weaving between all kinds of road obstacles while Purple and Black Invaders give you a hard time.
- Bomber Balls will also appear in large numbers to give you grief.
Distance: 13 Km
Obstacles: Oil Drums, Rocks, Bomber Balls, Tacks, Oil
Route B
- A short route, but with three icy slip zones to content with, including one right at the start.
- Black and Purple Invaders appear and knock you about on the ice. Try and maintain some distance so you can drop speed on the corners safely.
- The short stretches between slip zones are when you'll encounter a few road hazards.
Distance: 13 Km
Obstacles: Ice, Rocks, Oil Barrels
Course 16
Once you've reached Course 16, you can use the Continue Code to start from here after a Game Over.
Route A
- This route starts with a few gentle bends, weaker enemies and a few patches of rocks to avoid.
- As soon as you hit the first long straight, weave between the Bomber Balls.
- Once they've passed, only a few weak enemies and easy-to-avoid road hazards stand between you and the goal.
Distance: 14 Km
Obstacles: Rocks, Bomber Balls, Oil, Oil Drums
Route B
- A short route with weak Invaders.
- Around halfway through, be prepared to dodge a barrage of Bomber Balls.
- While there are some hazards to avoid, they mostly appear on the straights.
Distance: 13 Km
Obstacles: Rocks, Oil Barrels, Bomber Balls, Oil
Course 17
Route A
- This route starts with an icy slip zone, a series of sharp turns and tacks littering the road. Drop your speed to safely navigate all of the slippery hazards.
- Even once the slip zone ends, more tacks litter every corner, and Bomber Balls hurtle towards you on the straights.
- You get a brief reprieve from both as you approach the goal.
Distance: 18 Km
Obstacles: Ice, Tacks, Bomber Balls
Route B
- The shortest route in the game.
- You start in an icy slip zone, dodging tacks. Take your time and slow down to avoid slipping off the road.
- Once you are out of the slip zone, you will need to swerve through a barrage of Bomber Balls.
Distance: 10 Km
Obstacles: Ice, Tacks, Bomber Balls
Course 18

Route A
- This route opens with a series of icy curves covered in tacks.
- As soon as the ice clears, you'll be dealing with Bomber Balls, Purple Invaders and Black Invaders.
- More tacks await on the corners.
- Eventually the enemies thin out, but stay alert for sharp turns littered with rocks and oil drums.
- A final slip zone appears before the very last turn.
Distance: 24 Km
Obstacles: Ice, Tacks, Bomber Balls, Oil Drums, Rocks
Route B
- This route contains a lot of long straights and gentle curves.
- You start on a very long icy straight, weaving between tacks.
- As soon as the slip zone ends, be ready to face Bomber Balls.
- The final half of this course relieves the pressure, with a few tacks and weak enemies to ride around.

Distance: 16 Km
Obstacles: Ice, Tacks, Bomber Balls
Course 19
Route A
- This route starts with a long straight followed by a gentle bend, but you will be busy dodging oil slicks, Bomber Balls and basic Invaders.
- After two sharp turns, an icy slip zone shows up and Purple Invaders start to attack from behind.
- Once the ice clears, keep dodging the Purple Invaders as you speed towards the goal.
Distance: 11 Km
Obstacles: Oil, Bomber Balls, Ice, Rocks
Route B
- This contender for the shortest route starts with a series of sharp turns.
- Once you're out of the turns, be ready for a barrage of Bomber Balls and tough Invaders.
- An icy slip zone appears with around 5 Km to go, and you'll need to content with Purple Invaders and rocks before it clears.
Distance: 10 Km
Obstacles: Oil, Bomber Balls, Ice, Rocks
Course 20
Route A
- The opening straight is covered in oil slicks and Bomber Balls.
- After two sharp corners, an icy slip zone appears.
- Stay at top speed until the gentle bend, then drop your speed to slip through the rocks.
- Keep an eye out for Purple Invaders while going slowly.
- Once you're out of the slip zone, you'll face more rocks and tough Invaders on the run to the goal.

Distance: 15 Km
Obstacles: Oil, Bomber Balls, Ice, Rocks
Route B
- This route starts gently, but you're quickly swerving around Bomber Balls.
- The wiggly back and forth route across the middle of the map takes place almost entirely in an icy slip zone.
- As you approach the goal, you'll need to fend off Purple Invaders.

Distance: 14 Km
Obstacles: Oil, Bomber Balls, Ice, Rocks
Ending (again)
After clearing Course 20, the story starts over at Course 1