Solo Course
Objective of Solo Course
At the start of each course, you are given a distance and time target. Travel the specified number of Km within the given Time to qualify for the next course.
- Enemy invaders do not appear in this mode. You only have to worry about road obstacles.
- You do not get a choice of routes. All the courses are the same as Route A from the Fighting Course mode.
- Courses loop infinitely until the time runs out.
- You do not have energy or extra lives. Crashing will cost time.
- Once the target distance is reached, a fanfare will sound. You can keep driving until the time is up – or pull over for a rest!
- If you fail to reach the target distance within the time limit, you get a Game Over.
Power-ups
You cannot get the Obstacle Proof power-up in Solo Course. Without enemies to block, there is no way to increase the number of bullets you hold, which is required for this power-up. As you'll see, this makes Solo Course "unwinnable".
You can get Unlimited Ammo, which is useful for clearing black oil drums and Bomber Balls.
You can get One-Shot Bullets, but there is little reason to do so, as there are no enemies that take more than one shot.
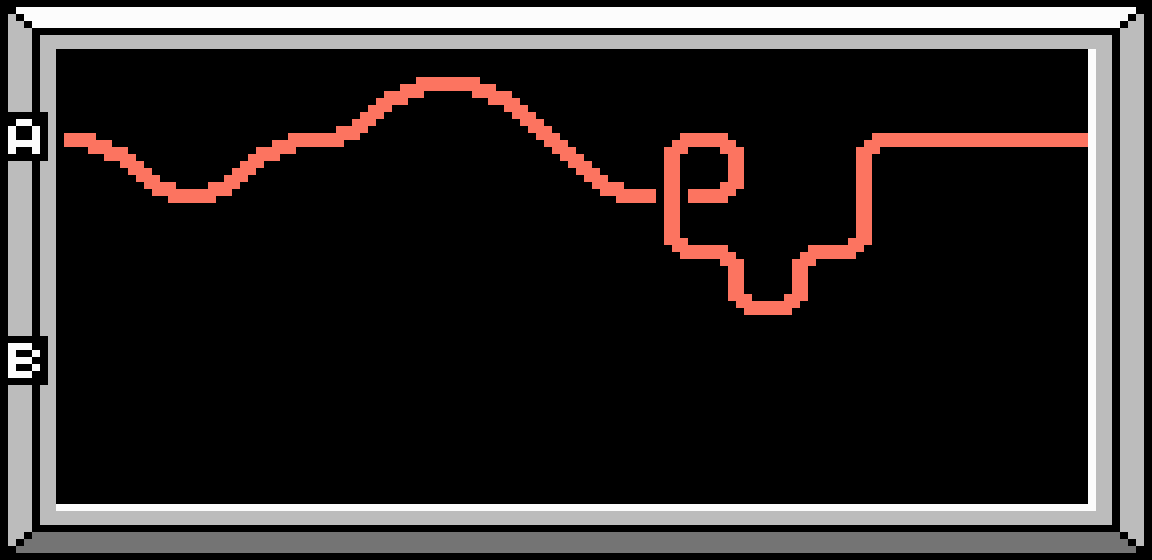
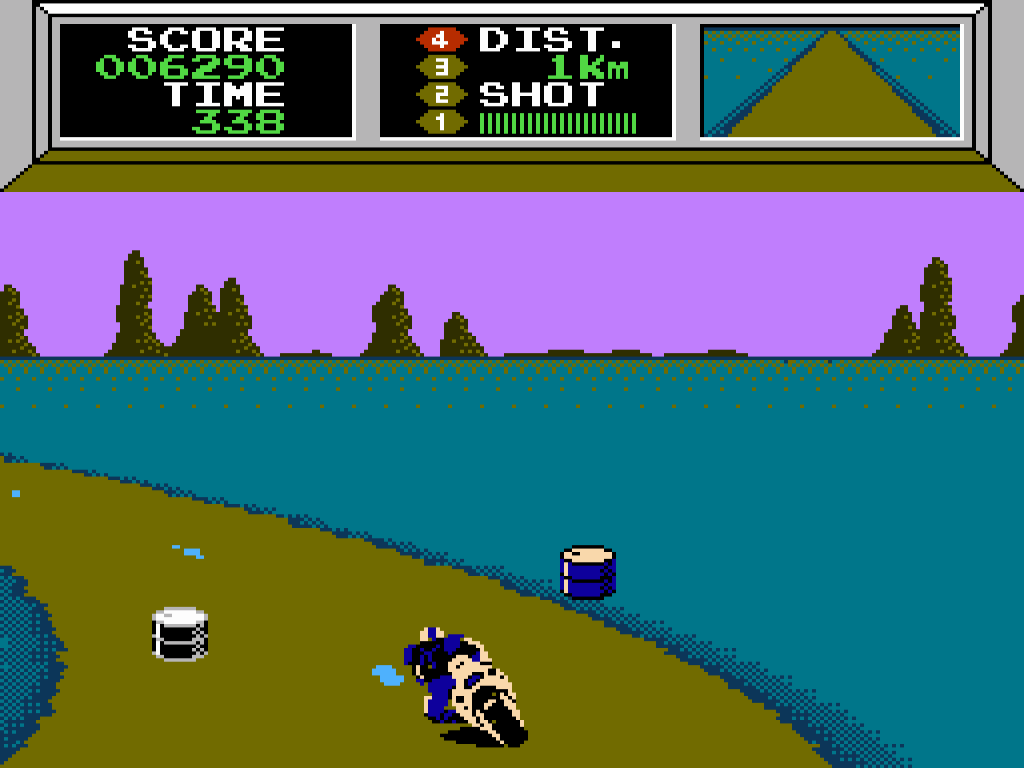
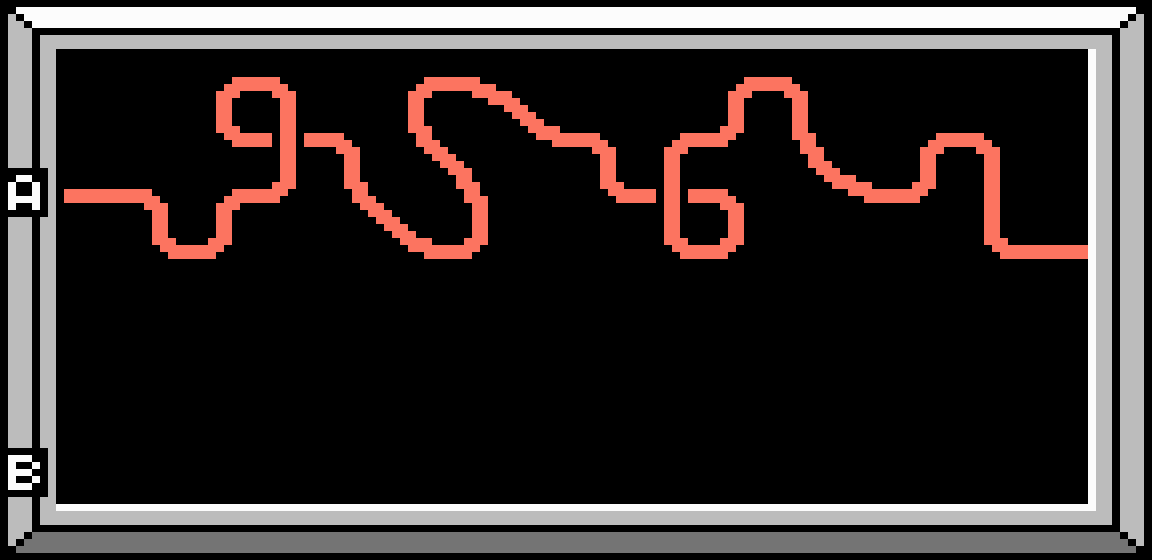
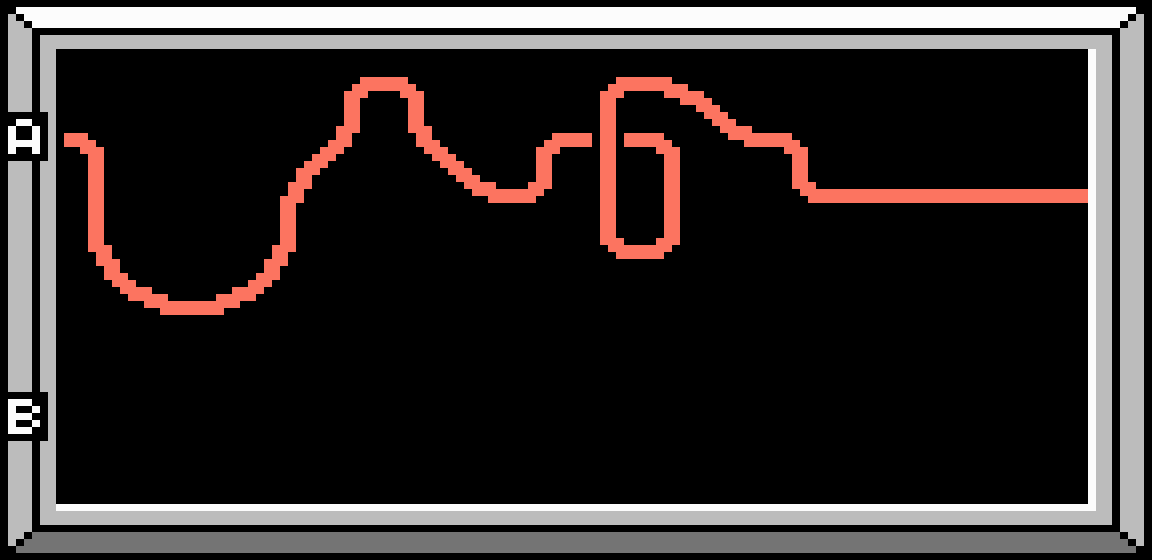
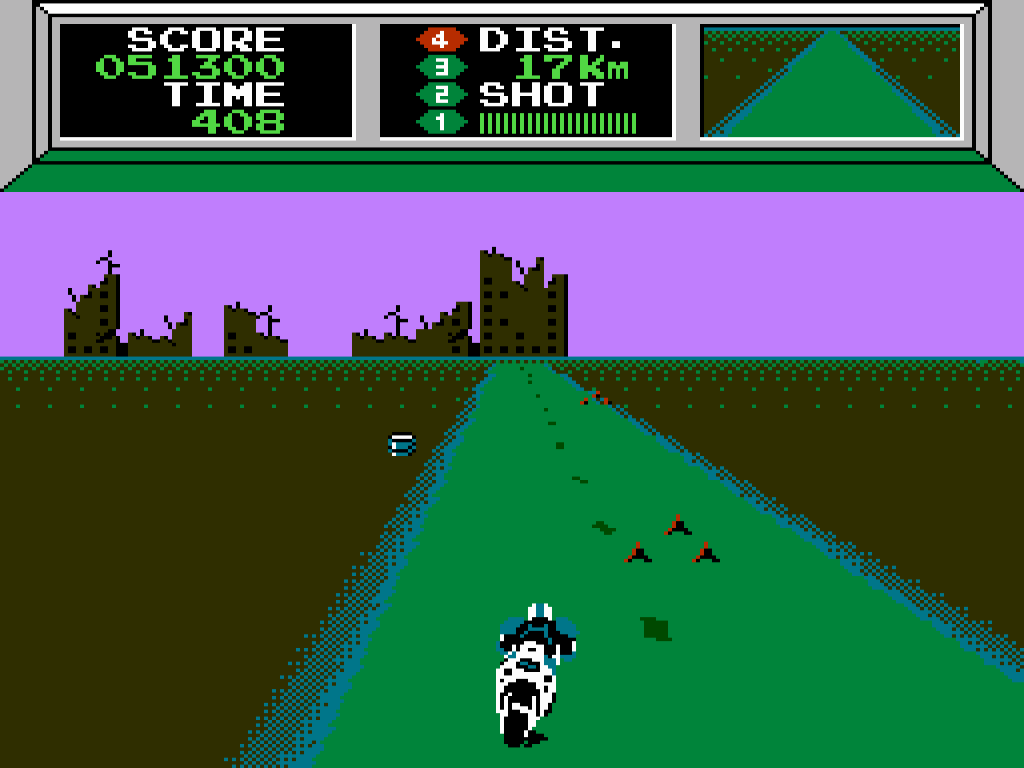
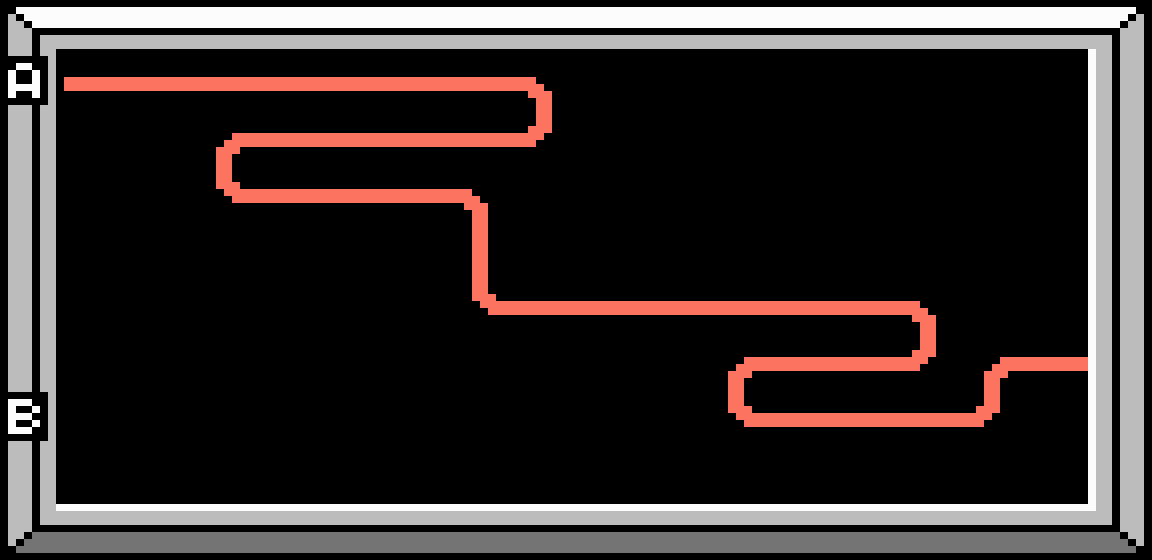
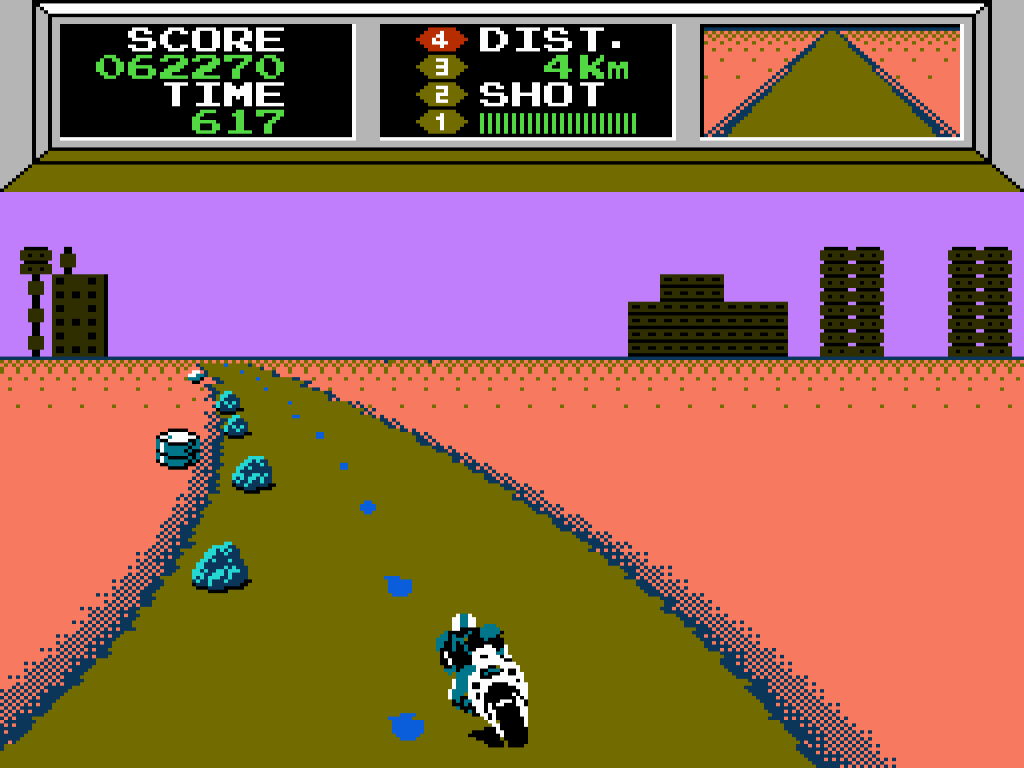
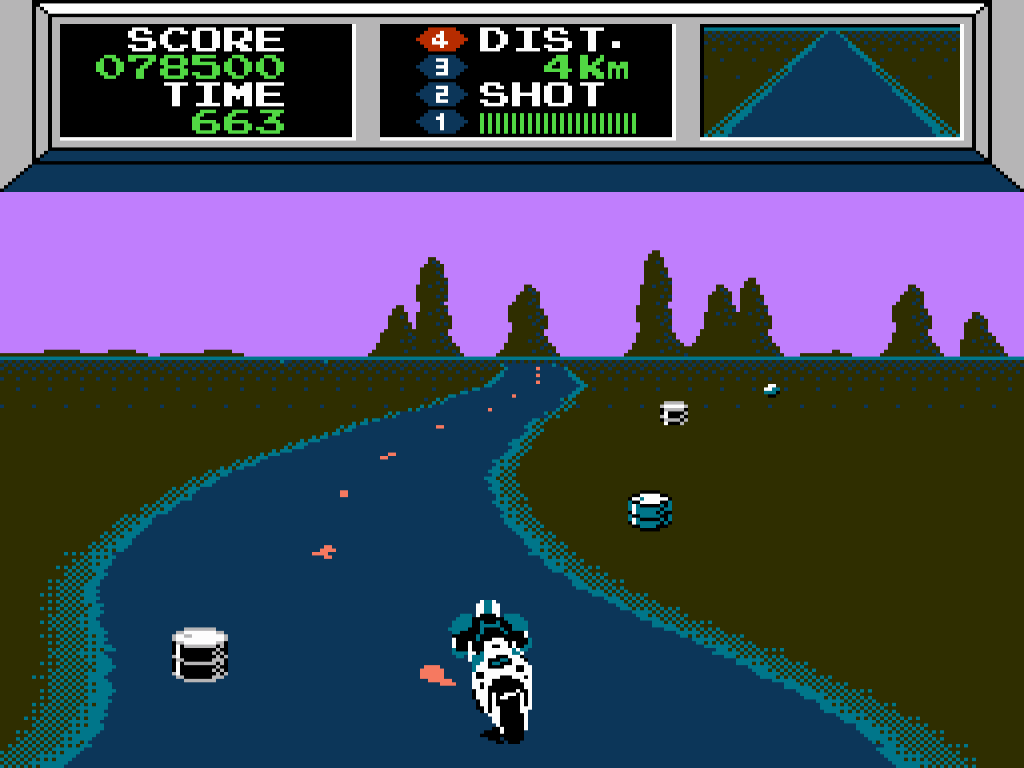
Solo Course 1
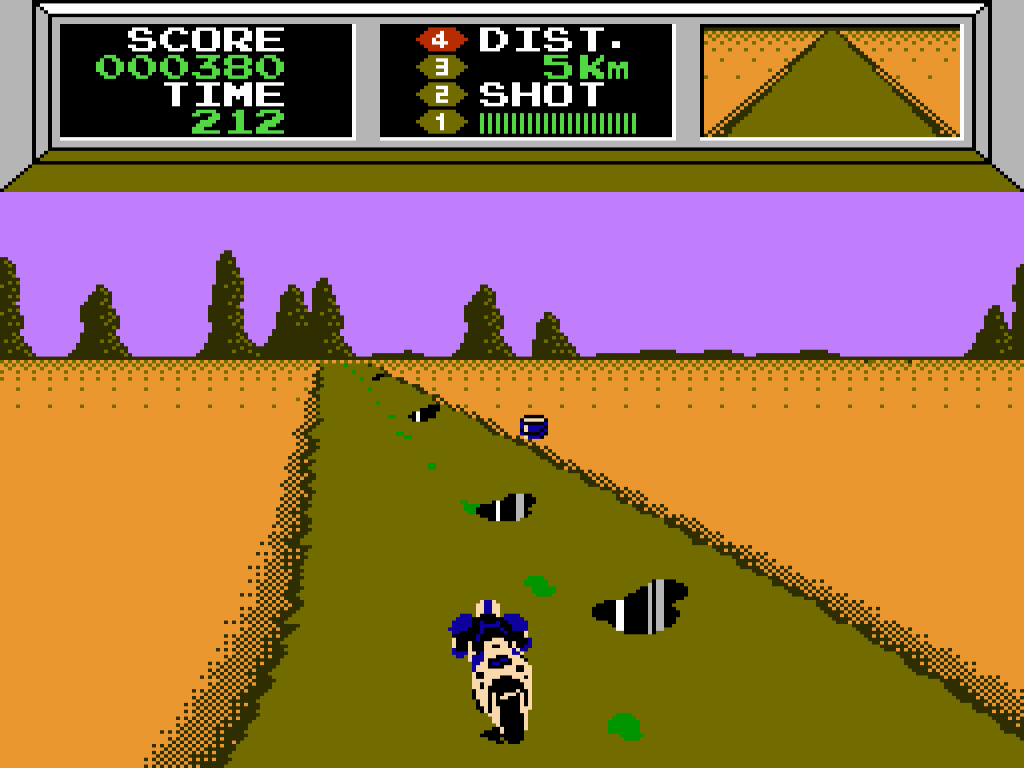
Target
Go 22 Km within Time 250.
Strategy
- With only oil and water to contend with, get to top speed as quickly as you can and stay there.
- If you hit any slippery obstacles, countersteer to regain balance.
- You should finish with plenty of time left on the timer.
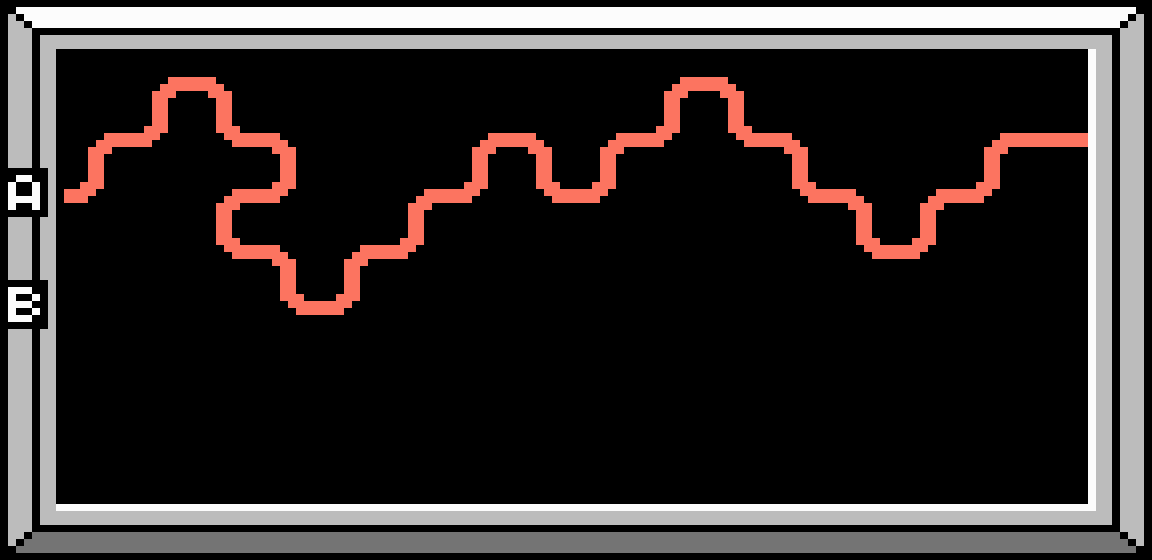
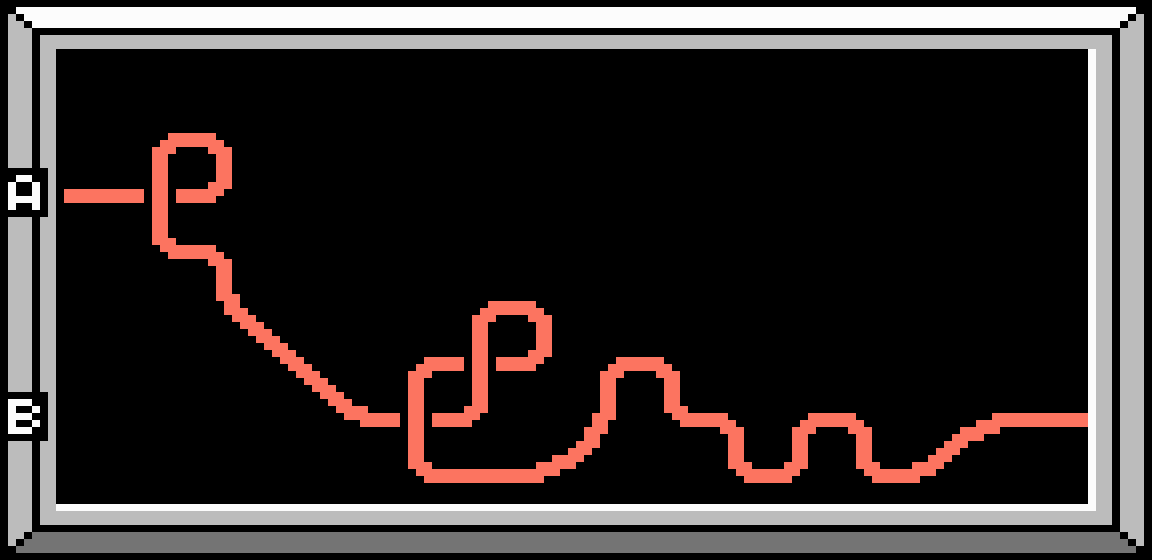
Map
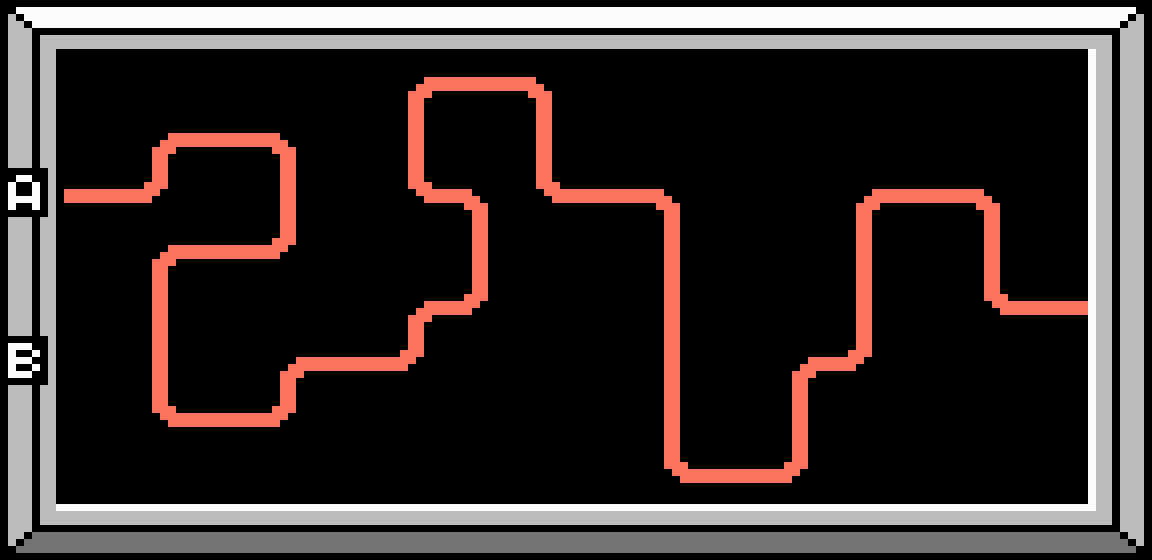
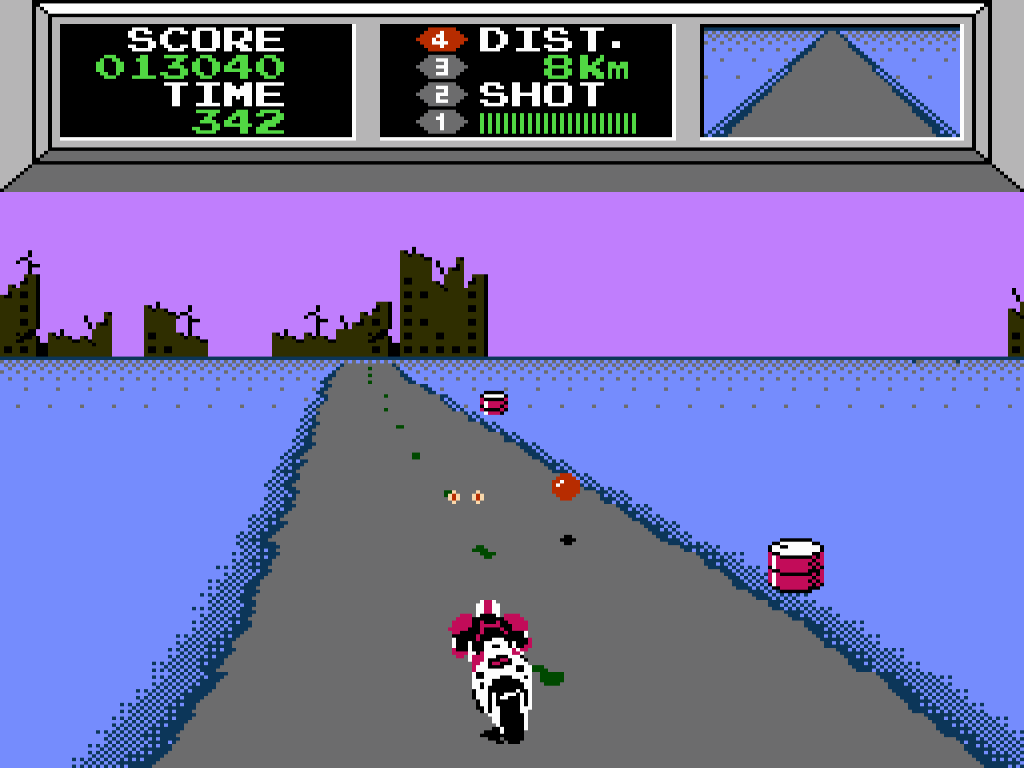
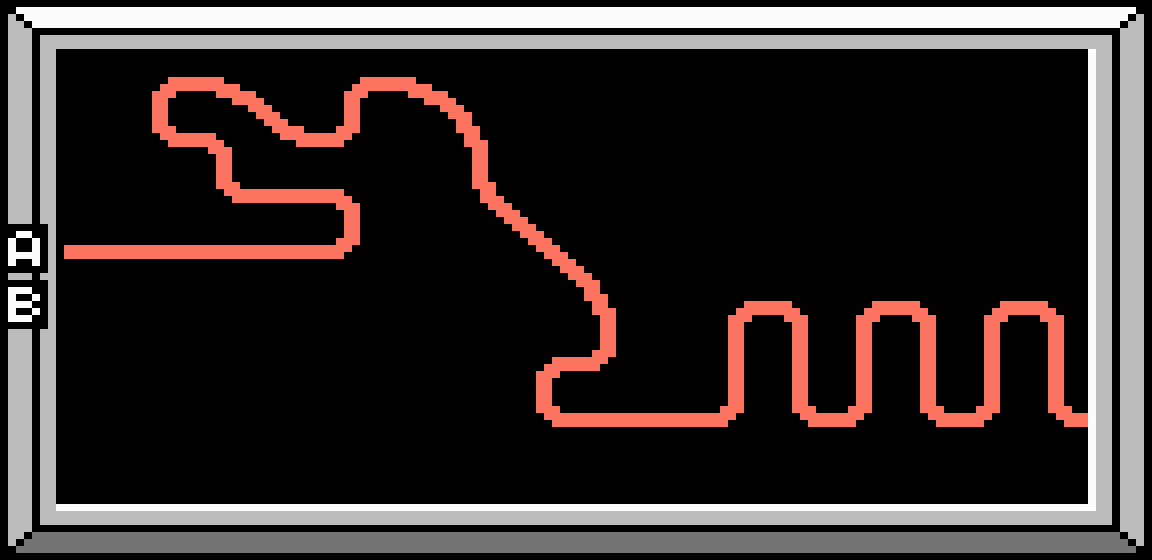
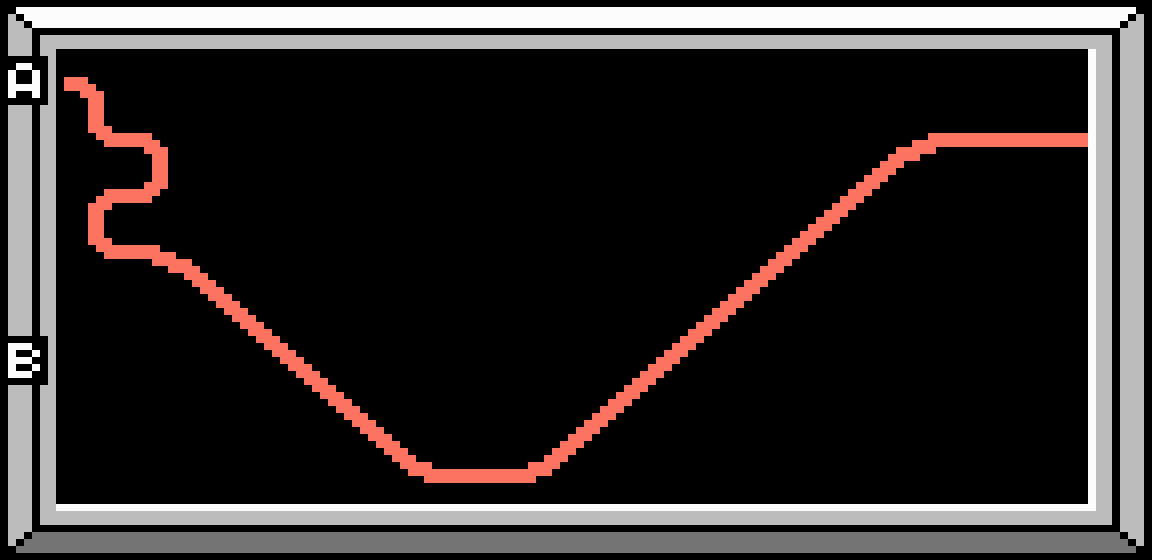
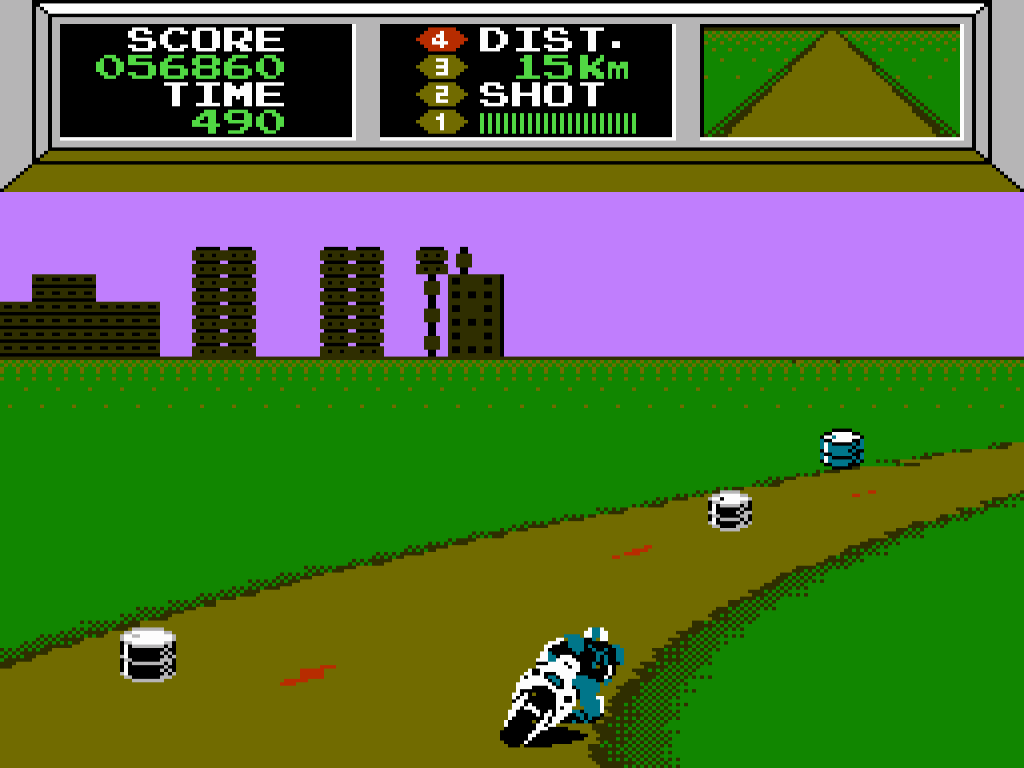
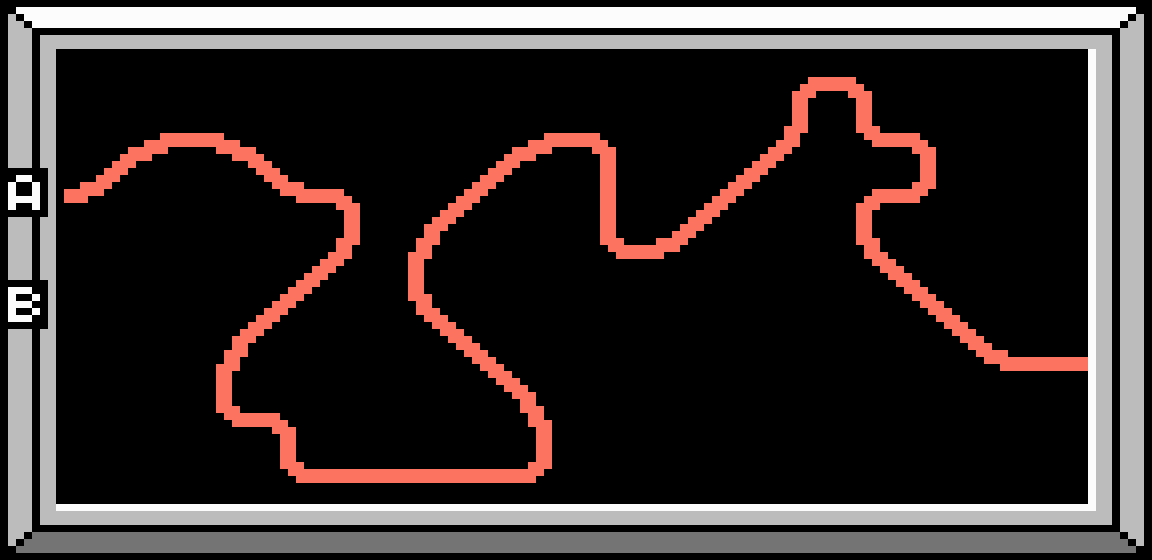
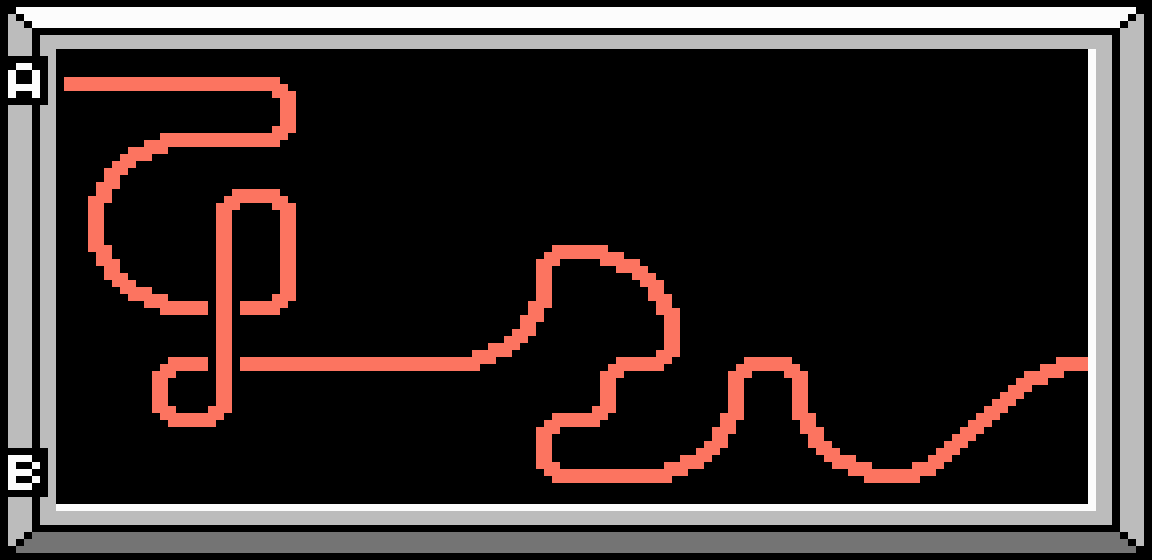
Solo Course 2
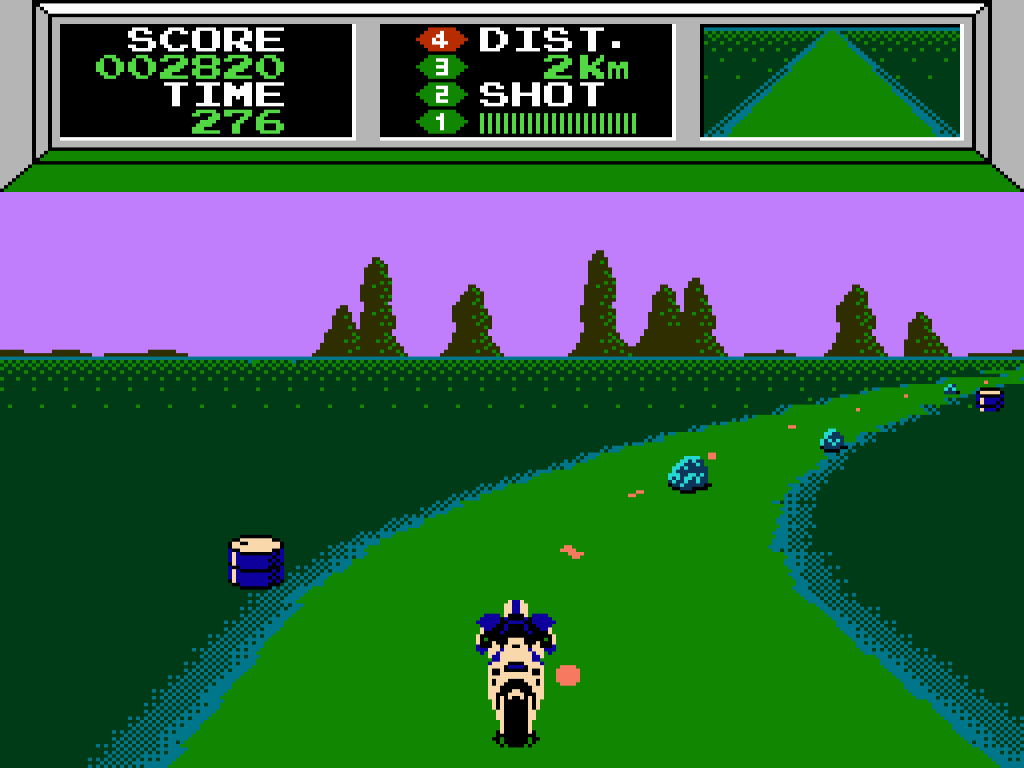
Target
Go 28 Km within Time 300.
Strategy
- This course features water puddles and rocks.
- Downshift to make weaving between rock formations at high speed easier. There's more than enough time.
Map
Solo Course 3
Target
Go 32 Km within Time 350.
Strategy
- Black oil drums, Bomber Balls and icy slip zones all make their first appearance.
- Weave around the road obstacles and be sure to downshift when taking corners on the ice.
- You can afford to make a few mistakes, but try to stay at top speed as much as you can.
Map
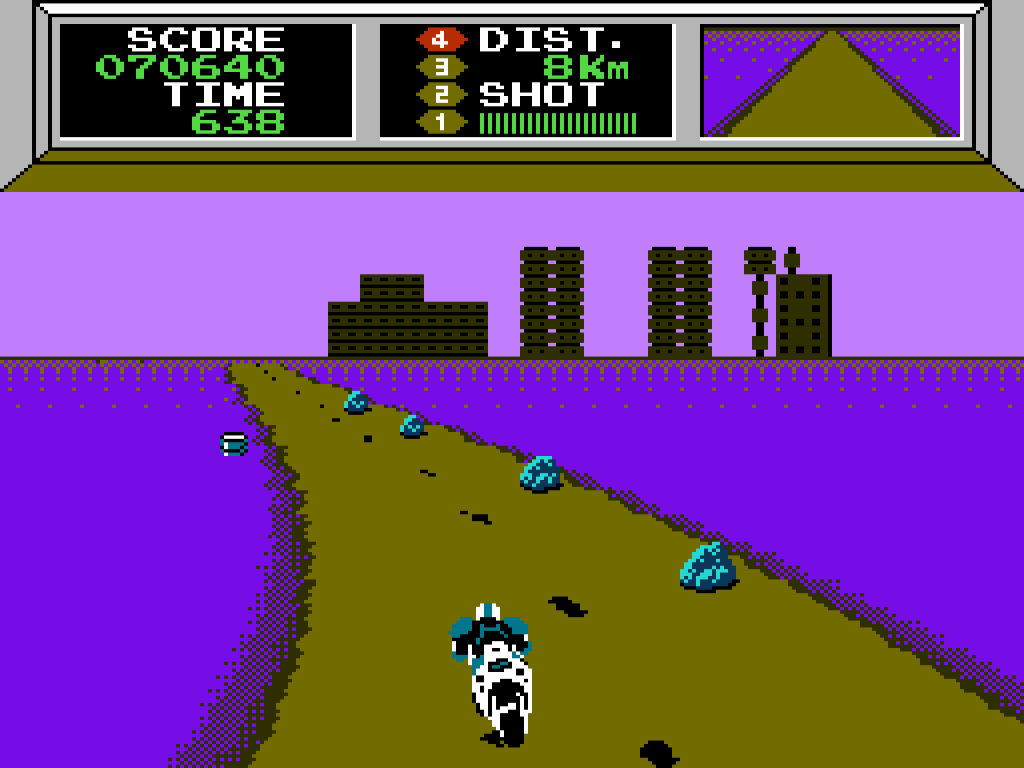
Solo Course 4
Target
Go 45 Km within Time 400.
Strategy
- Oil, rocks and Bomber Balls litter the road ahead.
- Weave through the small clusters of Bomber Balls.
- Stay at top speed on the straights and slow down on sharp corners if you can't see what's coming.
Map
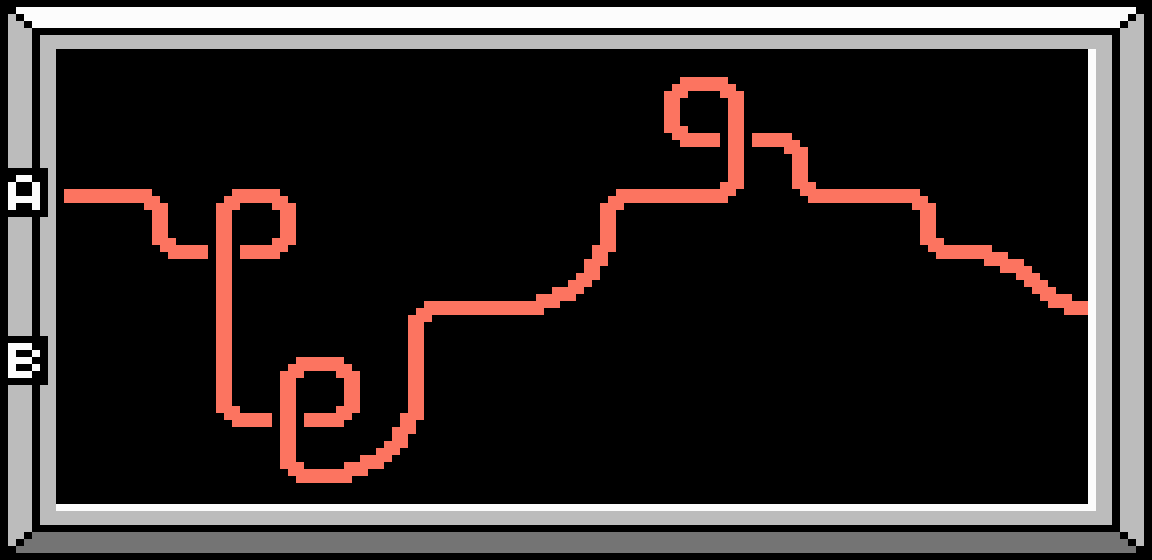
Solo Course 5
Target
Go 46 Km within Time 450.
Strategy
- Don't be fooled by the tiny increase in distance over Course 4. This entire course is a long icy slip zone.
- Stay in 4th gear on the straights. Downshift to 3rd or even 2nd gear to take sharp corners and weave through Black Oil Drums.
- Even if you can avoid crashing, you'll hit the target distance perilously close to the target time.
Map
Solo Course 6
Once you've reached Course 6, you can use the Continue Code to start from here after a Game Over.
Target
Go 62 Km within Time 500.
Strategy
- On this winding course, you will be dodging Bomber Balls, black oil drums and patches of oil.
- When the icy slip zone appears, stay in 4th gear. There are no bends, so you can safely keep your foot down until it clears.
Map
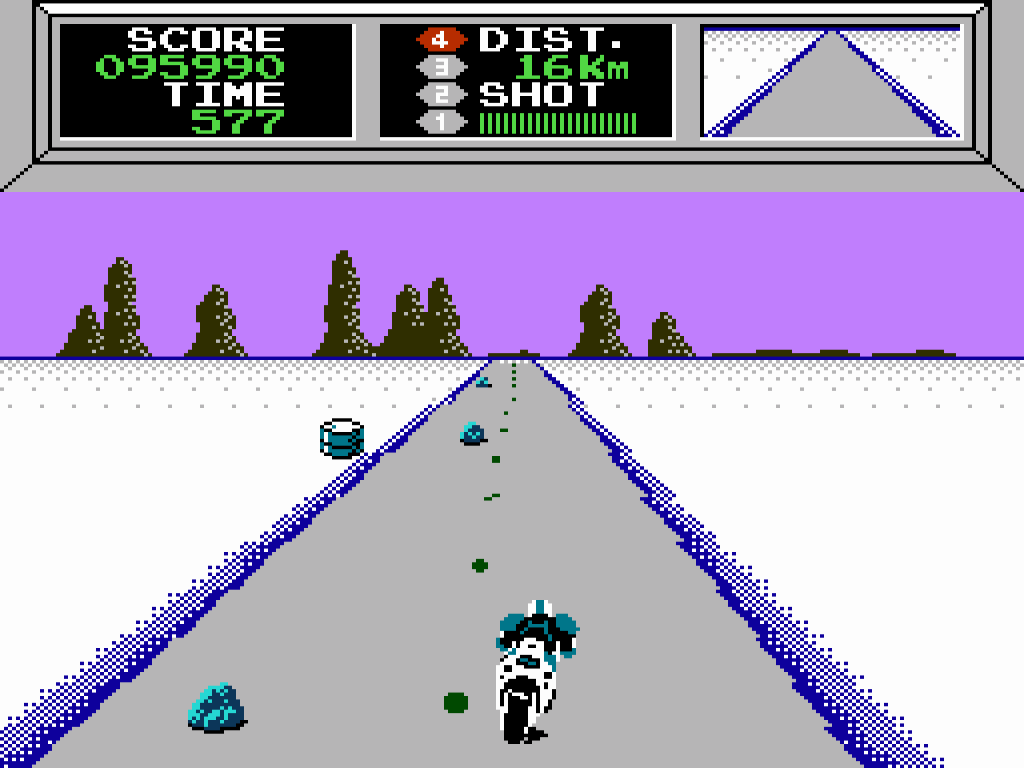
Solo Course 7
Target
Go 65 Km within Time 550.
Strategy
- This slippery course throws tacks, water and oil at you, and most of it takes place on an icy slip zones.
- You don't have a lot of spare time, so stay in 4th gear on the long straights and only slow down to avoid slipping on the corners.
- When the ice briefly clears, go back to top speed.
Map
Solo Course 8
Target
Go 65 Km within Time 600.
Strategy
- Tacks, black oil drums and rocks litter the road, including on tight corners. Confidently weaving between obstacles is key to success on this course.
- Slow down on blind corners to avoid crashing.
- If you can stay at a high speed, you can finish this course with a lot of time remaining.
Map
Solo Course 9
Target
Go 90 Km within Time 650.
Strategy
- There is a significant jump in difficulty on this course. Time is very tight.
- You need to maintain a high speed while weaving between oil, Bomber Balls and rocks.
Map
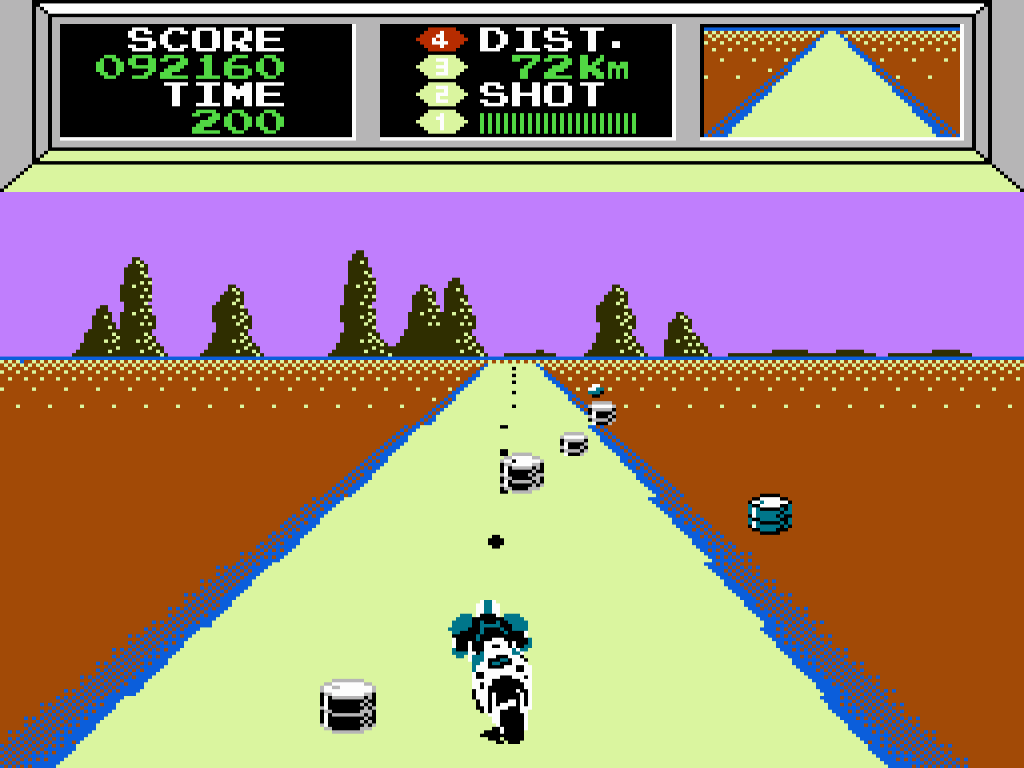
Solo Course 10
Target
Go 92 Km within Time 700.
Strategy
- Get to high gear and maintain top speed.
- The only obstacles are water and a few rocks on easy bends – no blind corners this time.
- If you can avoid the sparsely populated obstacles, you ought to be able to hit the target distance with plenty of time to spare.
Map
Solo Course 11
Once you've reached Course 11, you can use the Continue Code to start from here after a Game Over.
Target
Go 95 Km within Time 700.
Strategy
- This long and nauseating course is made up entirely of zig-zagging bends.
- To hit the target, you will need to maintain top speed as much as possible.
- Every road obstacle makes an appearance, and while they are spread out, you approach every one on a bend. Try and stick to the middle of the road where you can, as most obstacles will pass by you.
- When the road briefly straightens out, watch out for a cluster of Bomber Balls heading your way.
Map
Solo Course 12
Target
Go 95 Km within Time 700.
Strategy
- This course features a lot of long straights and some sharp turns.
- The straights are littered with pretty much every type of road obstacle, but they are easy to see coming and weave through. You only need to worry about rocks and Bomber Balls on a couple of bends.
- On one straight, an icy slip zone will appear. Slow down so you don't slip on the upcoming bend, then go back up to full speed. The ice will clear long before the next bend.
- Keep your foot down as you don't have a lot of time spare by the end.
Map

Solo Course 13
Target
Go 95 Km within Time 700.
Strategy
- This winding course is once again packed with obstacles.
- Towards the end of your first loop around the course, an icy slip zone appears and then stays for the remainder of the run.
The end of the run?
The endless slip zone causes a major problem. To reach the target distance in the target time, you must stay at top speed as much as possible. But staying at top speed on the ice will make you slide off course and lose even more time.
Even minimising the amount of time spent in third gear doesn't leave enough time to reach the Target distance.
And as Power-Up 1 (which prevents slipping on ice) cannot be obtained in Solo Course mode, there doesn't appear to be a legitimate way to beat this course.
Map
What comes next?
Using Game Genie codes, we have confirmed that there are 20 Courses that loop back to Course 1 at the end. Two of these also feature challenging slip zones, but they can (just!) be beaten within the time limit without power-ups.
If anyone can find a strategy for beating Course 13 legitimately, contact NinDB and let us know how you did it.